Making the Most of Gutenberg Blocks
WordPress’ new Block editor, called Gutenberg, was a dramatic change from the old editor that wasn’t exactly lauded at first. But there’s no denying it has opened up some unique possibilities for content styling and organization that can make your posts more visually interesting, no HTML knowledge necessary.
The Gutenberg Block editor includes a number of built-in Blocks beyond just basic text and headings, including image galleries, blockquotes, lists and tables. You can do a lot with it without any special customizations at all, and you don’t have to know any HTML code to do so as was the case with the Classic editor.
Beyond the basics, Gutenberg opens up a world of development possibilities for custom formatting and special content that will allow you to make your posts even more interesting and engaging to your readers.
If you are not using the Block editor yet… what are you waiting for?
In this article I’ve outlined a few common block types, styles and customization options that you may want to incorporate into your site design. This article isn’t a how-to on customizing Blocks yourself, rather a roadmap for existing/future design clients looking to plan their project.
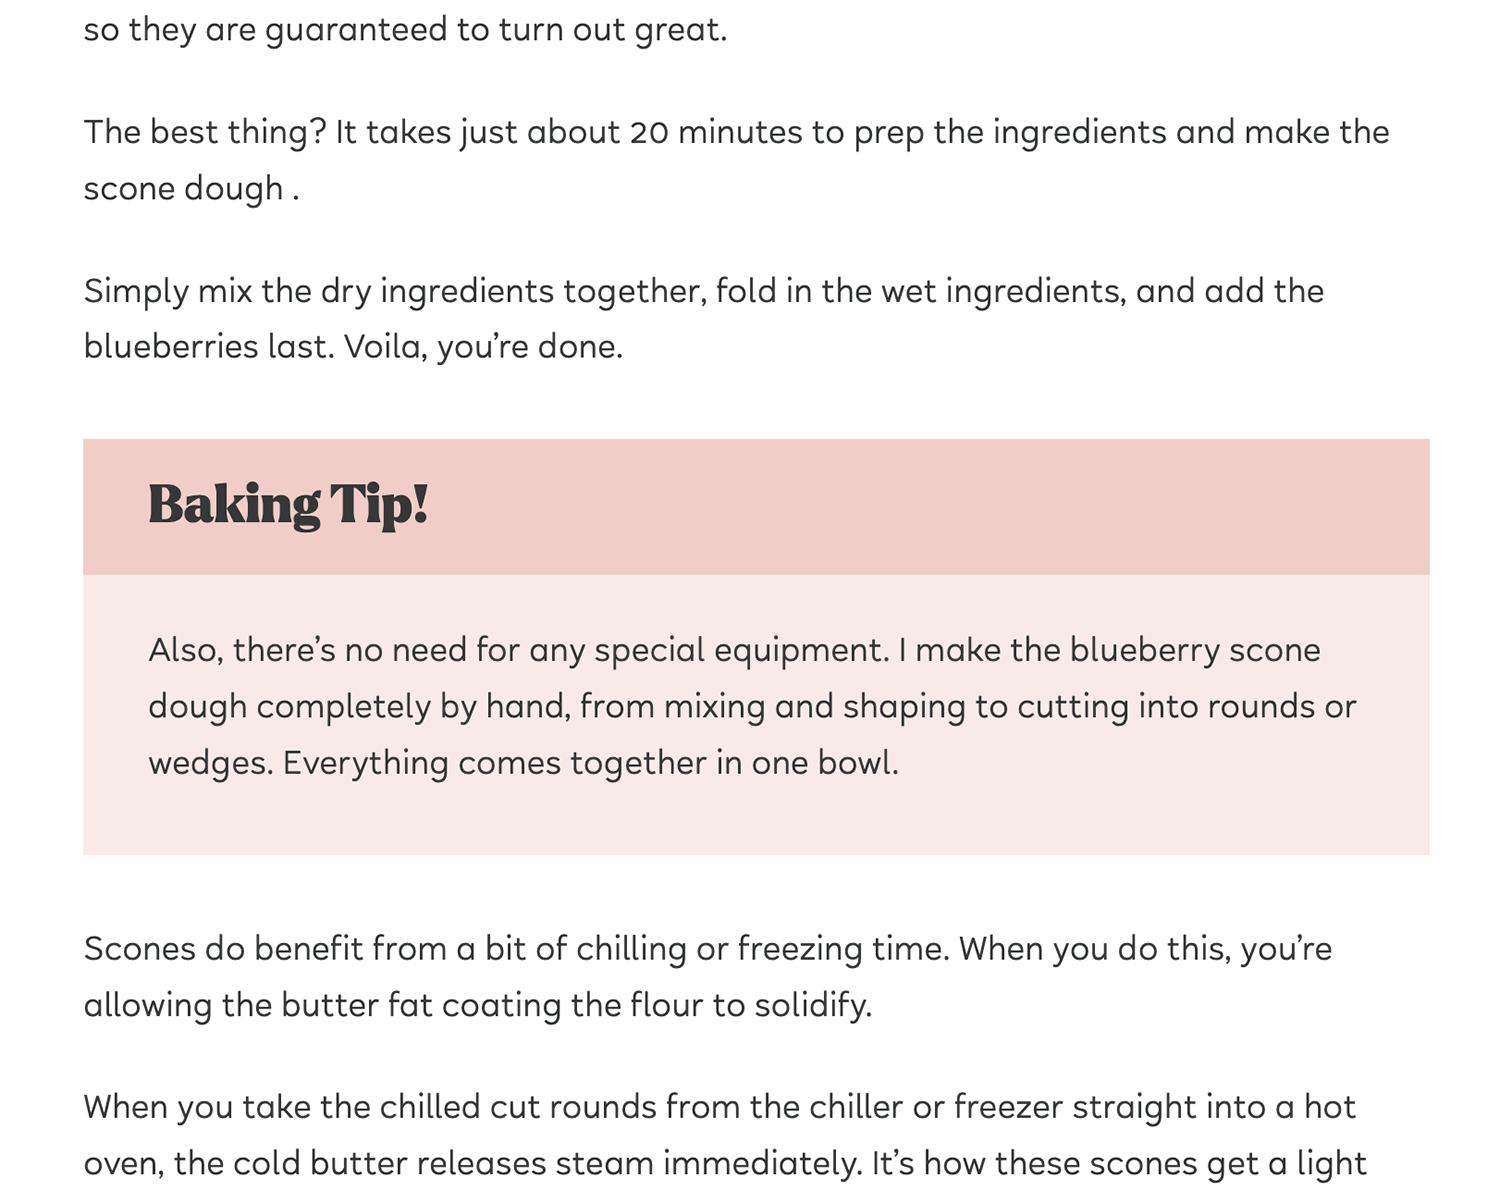
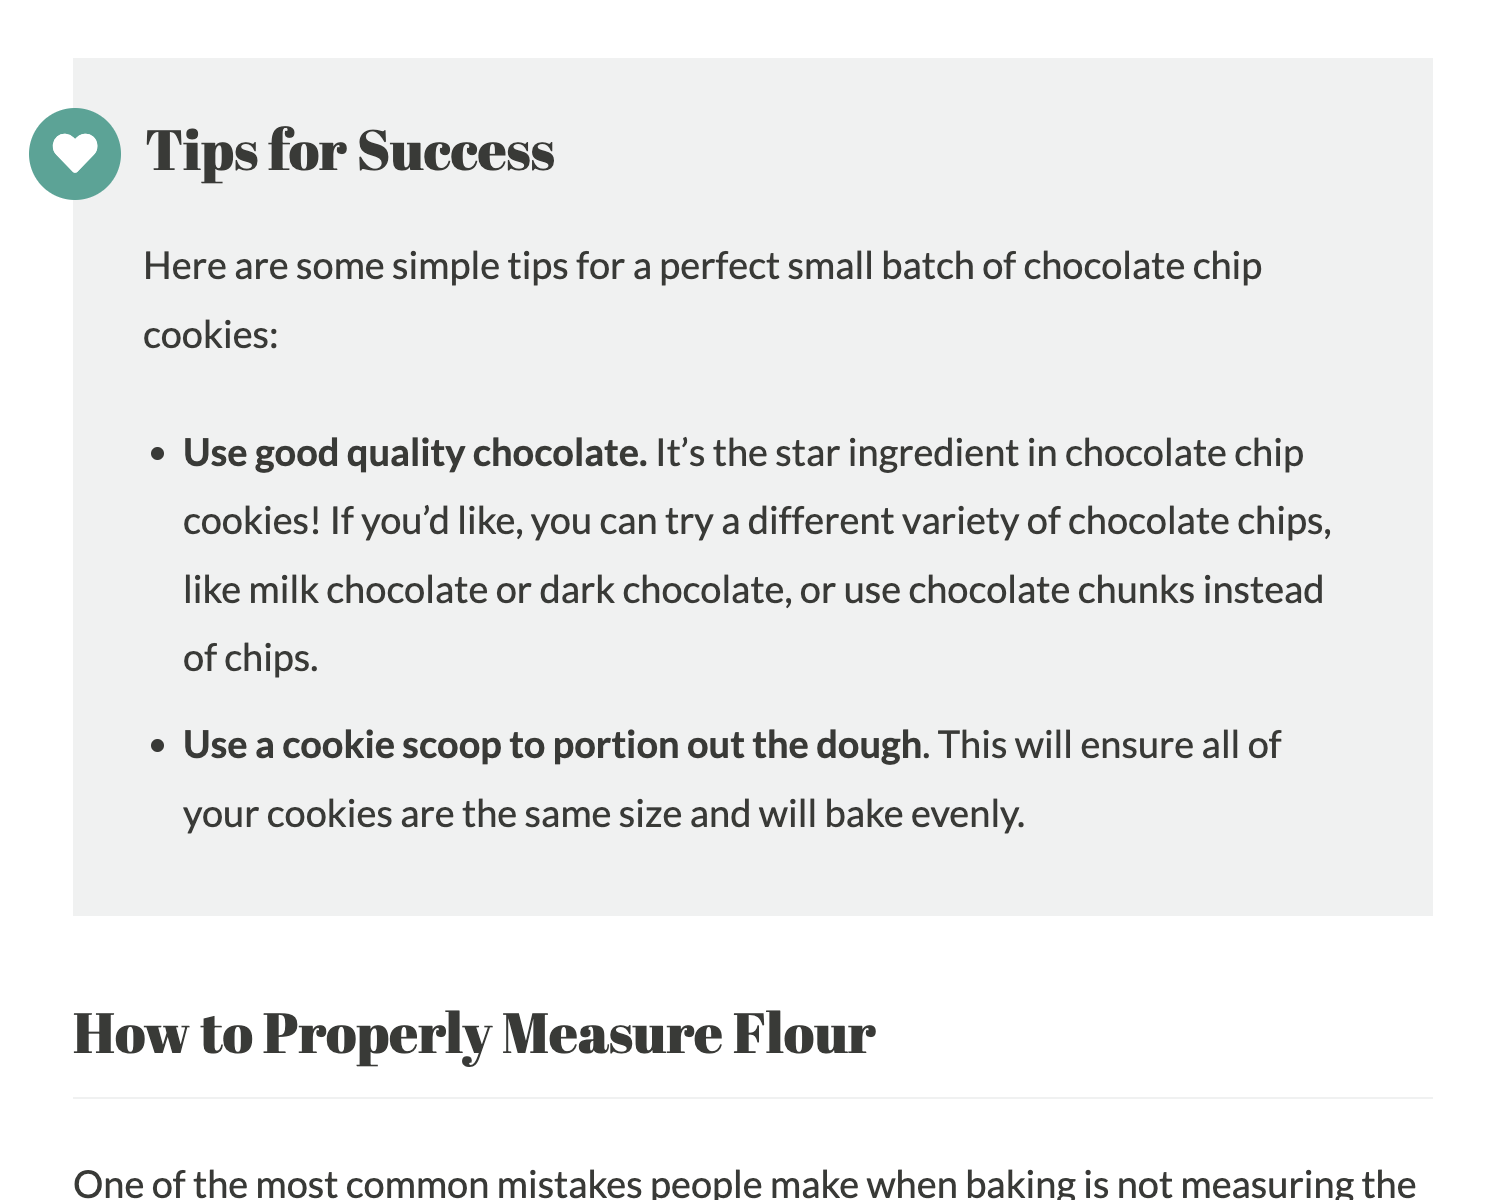
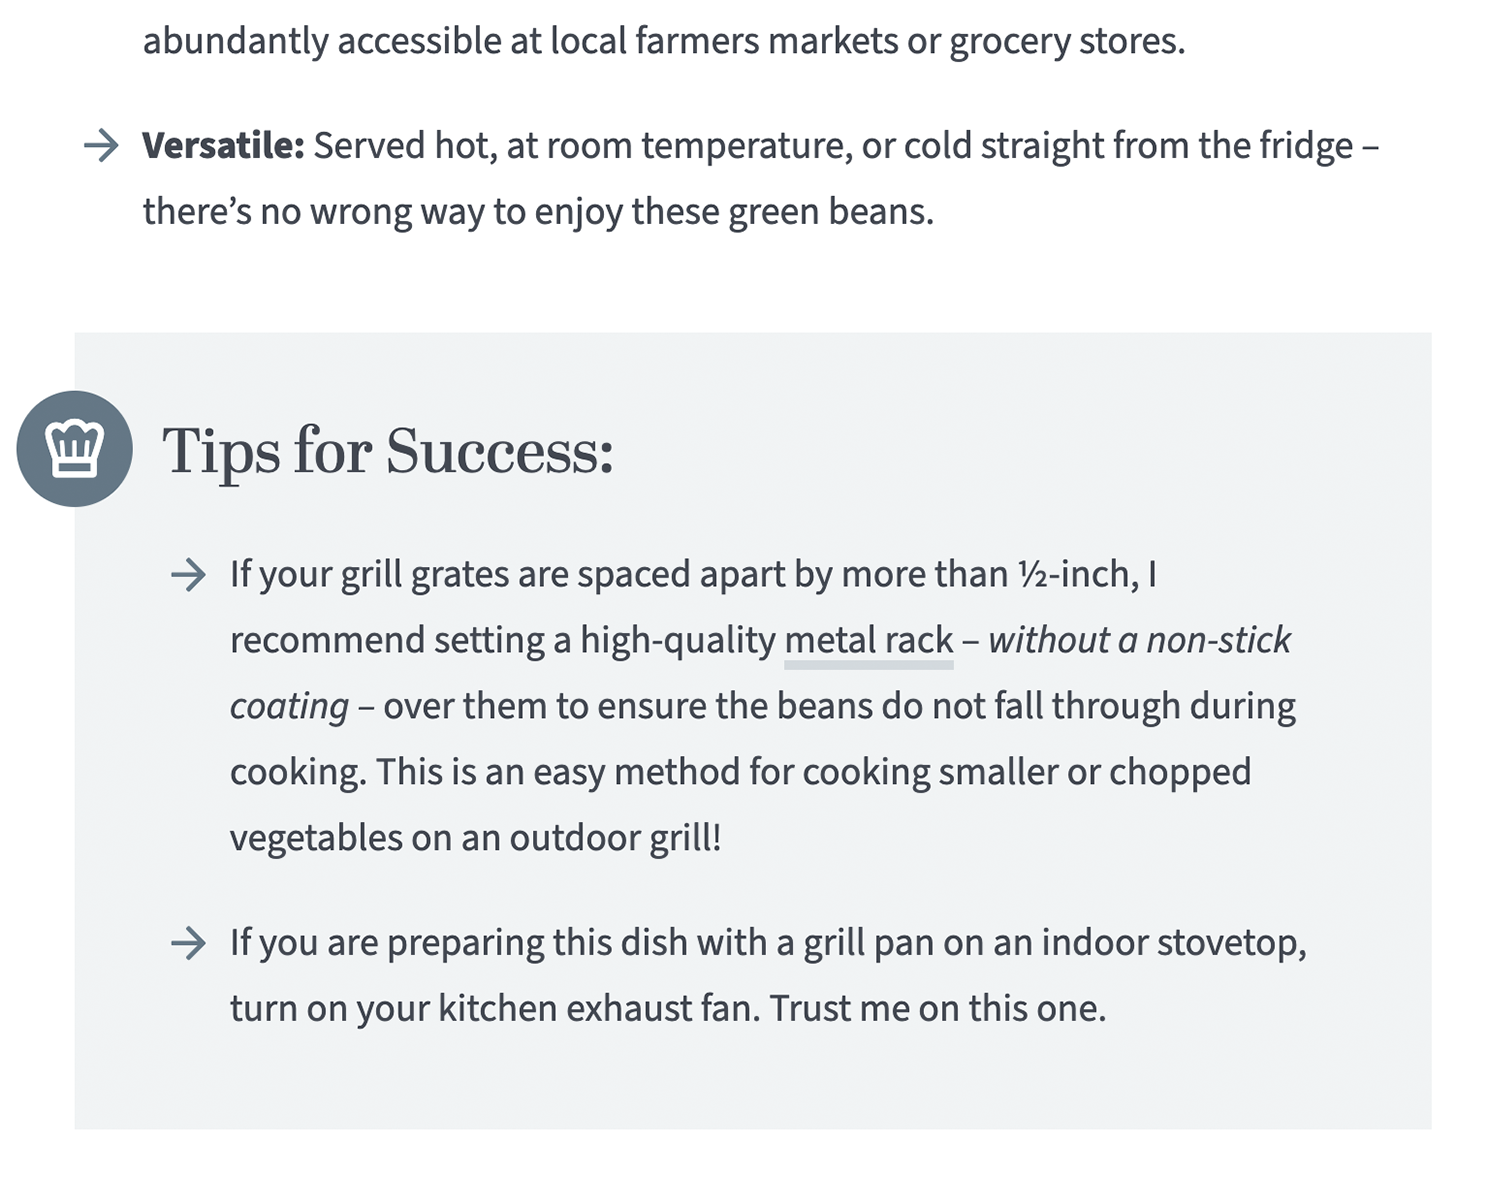
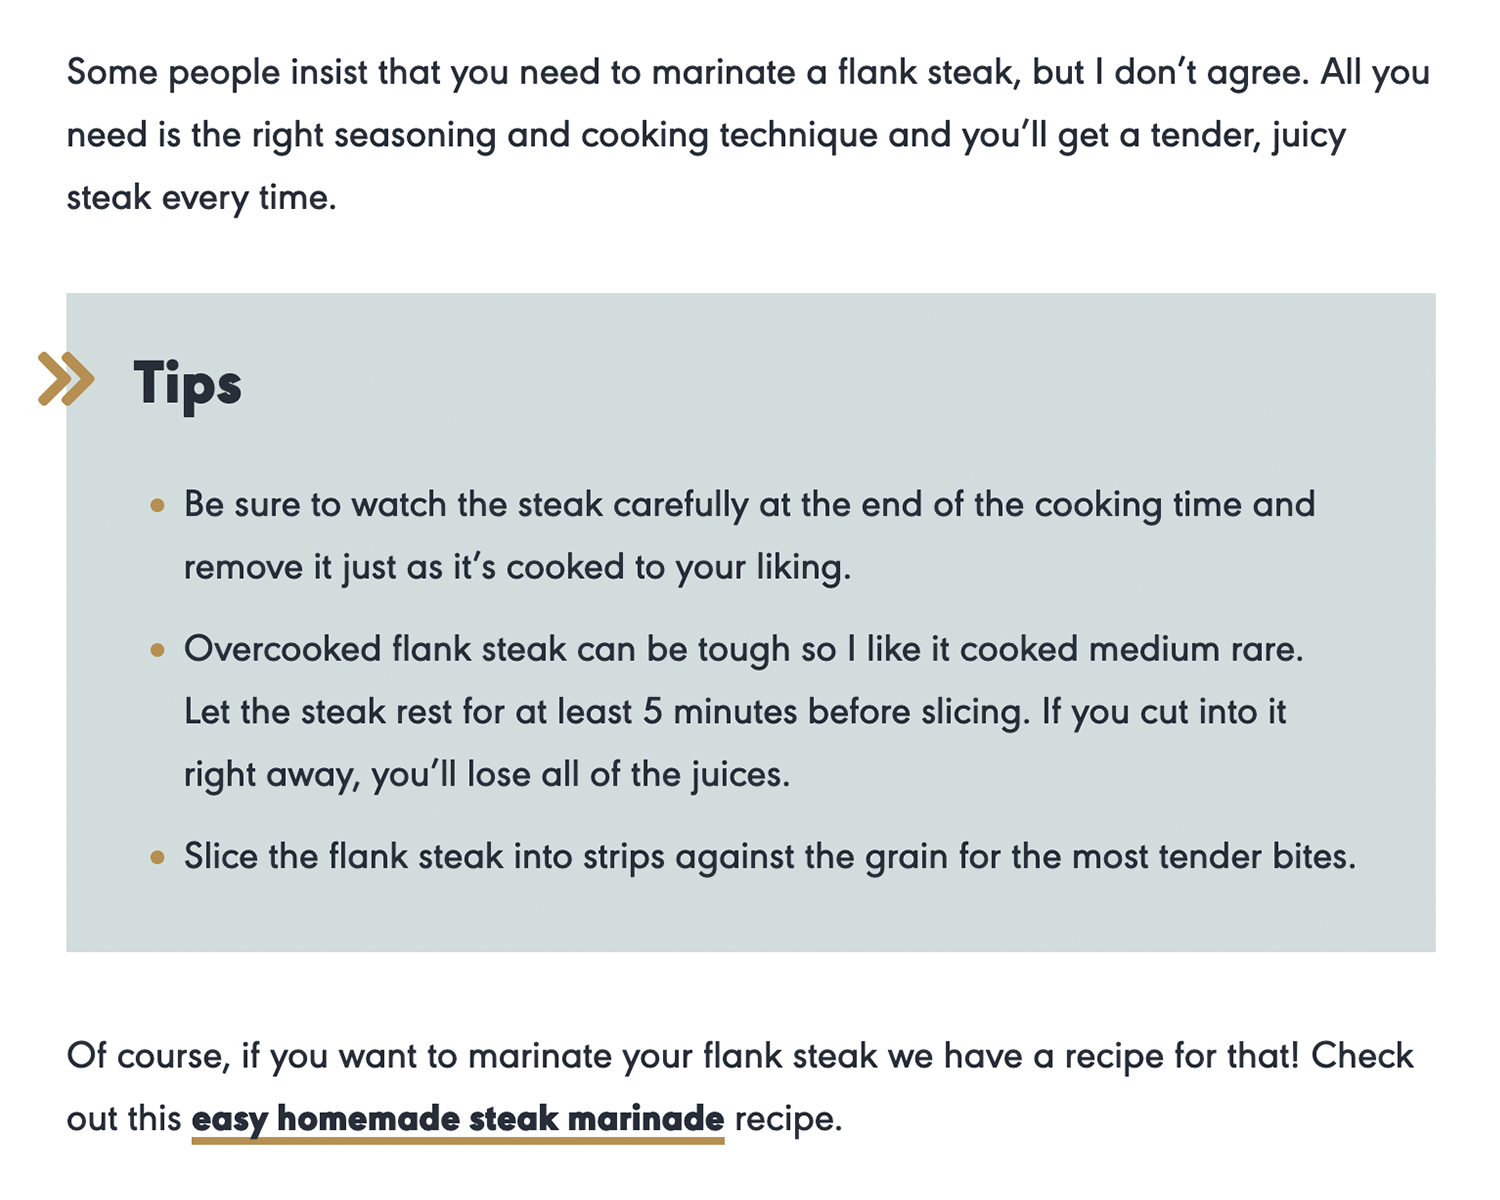
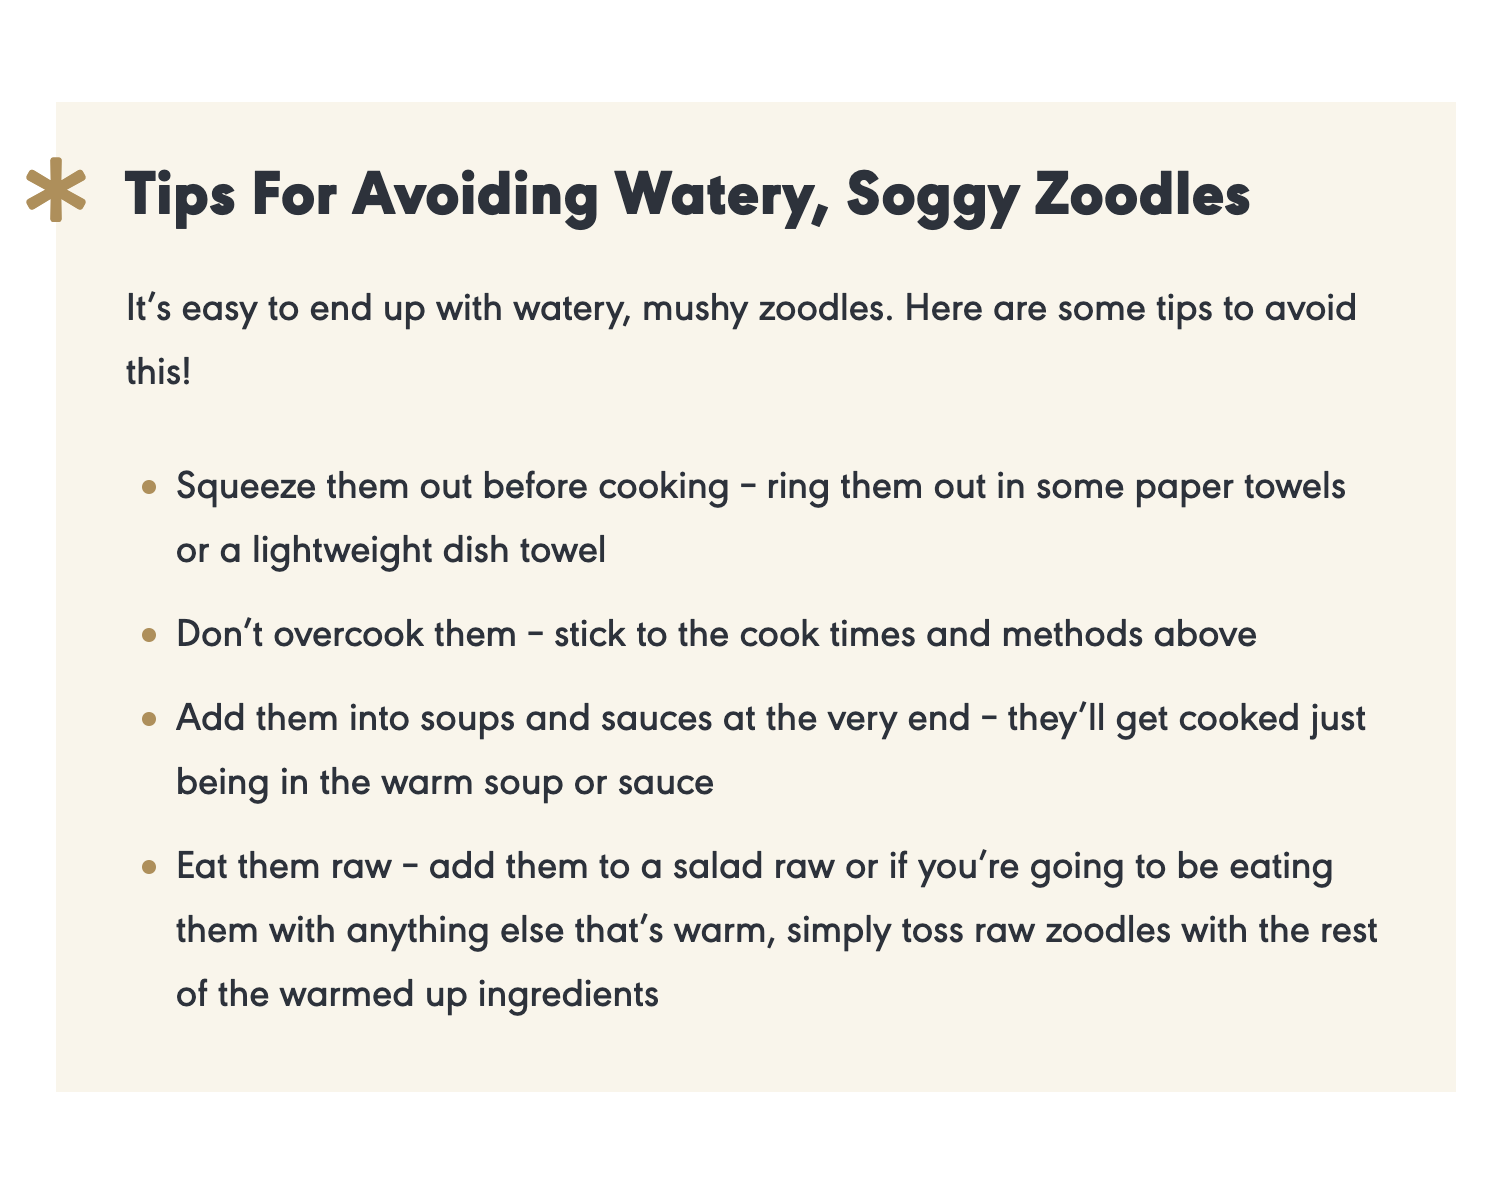
Basic Shaded Blocks
The Color Settings panel is where you can change the text color or background color for any block or group block.
By default, the color palette is a generic rainbow of options, with an additional ‘custom color’ field where you can enter the HEX # of any color you want.
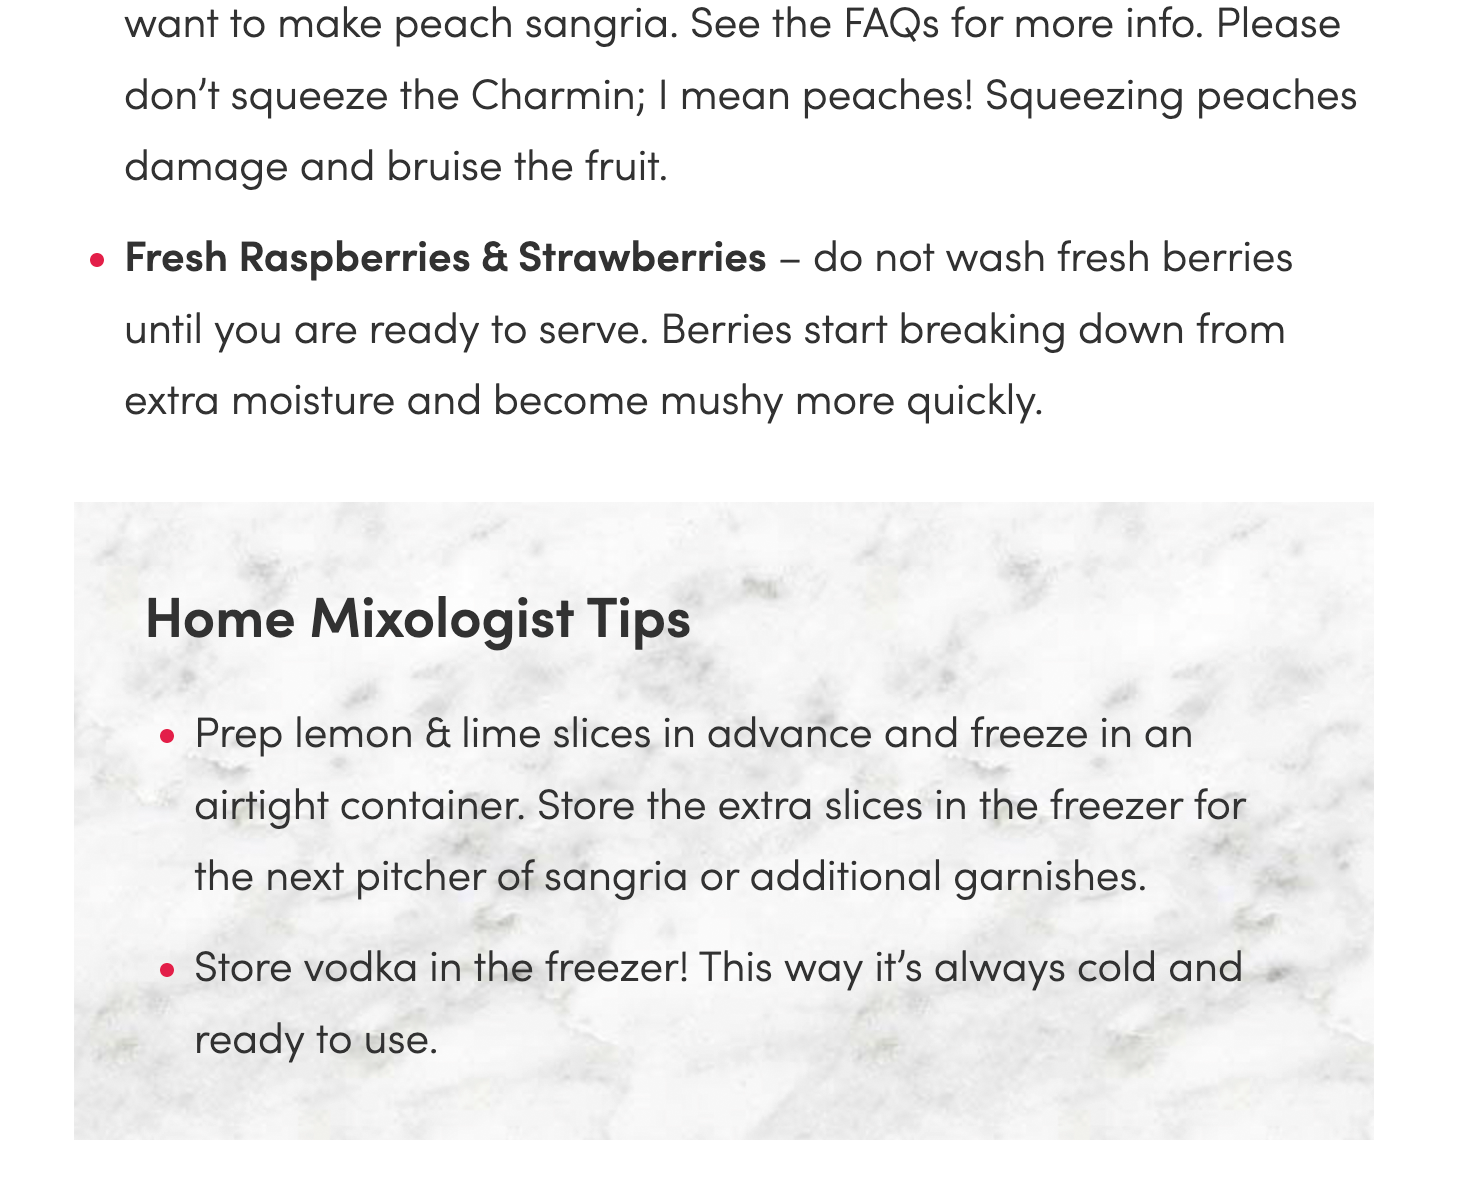
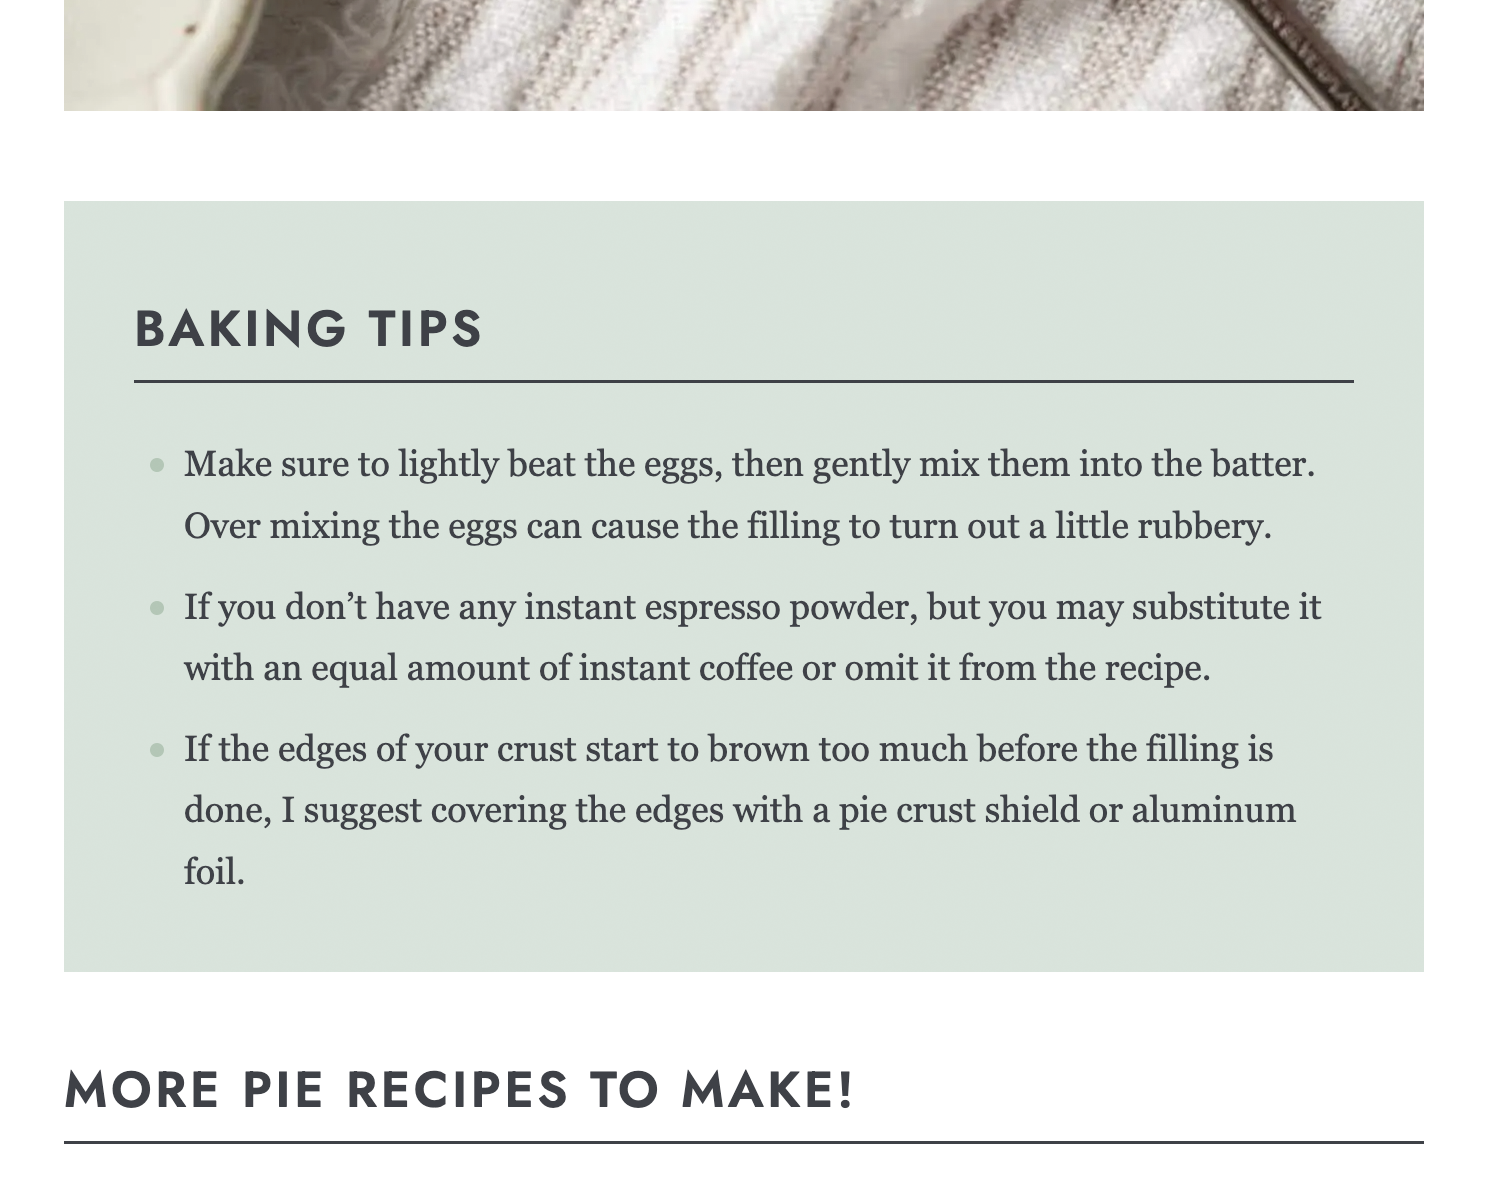
However, rather than you having to keep track of the HEX codes of your brand colors, we’re able to define a set of custom brand colors that you can choose from instead of the generic rainbow. Having a set of branded colors will give you the opportunity to easily highlight or shade the background to emphasize a piece of content and have it match your site’s design and branding perfectly.
For example, maybe you have a ‘baking tip’ you want to draw more focus to, or a list of related posts that you want to visually differentiate from the rest of the post content. In both those cases, adding a background color to the block in question is a great (and easy) way to do just that!


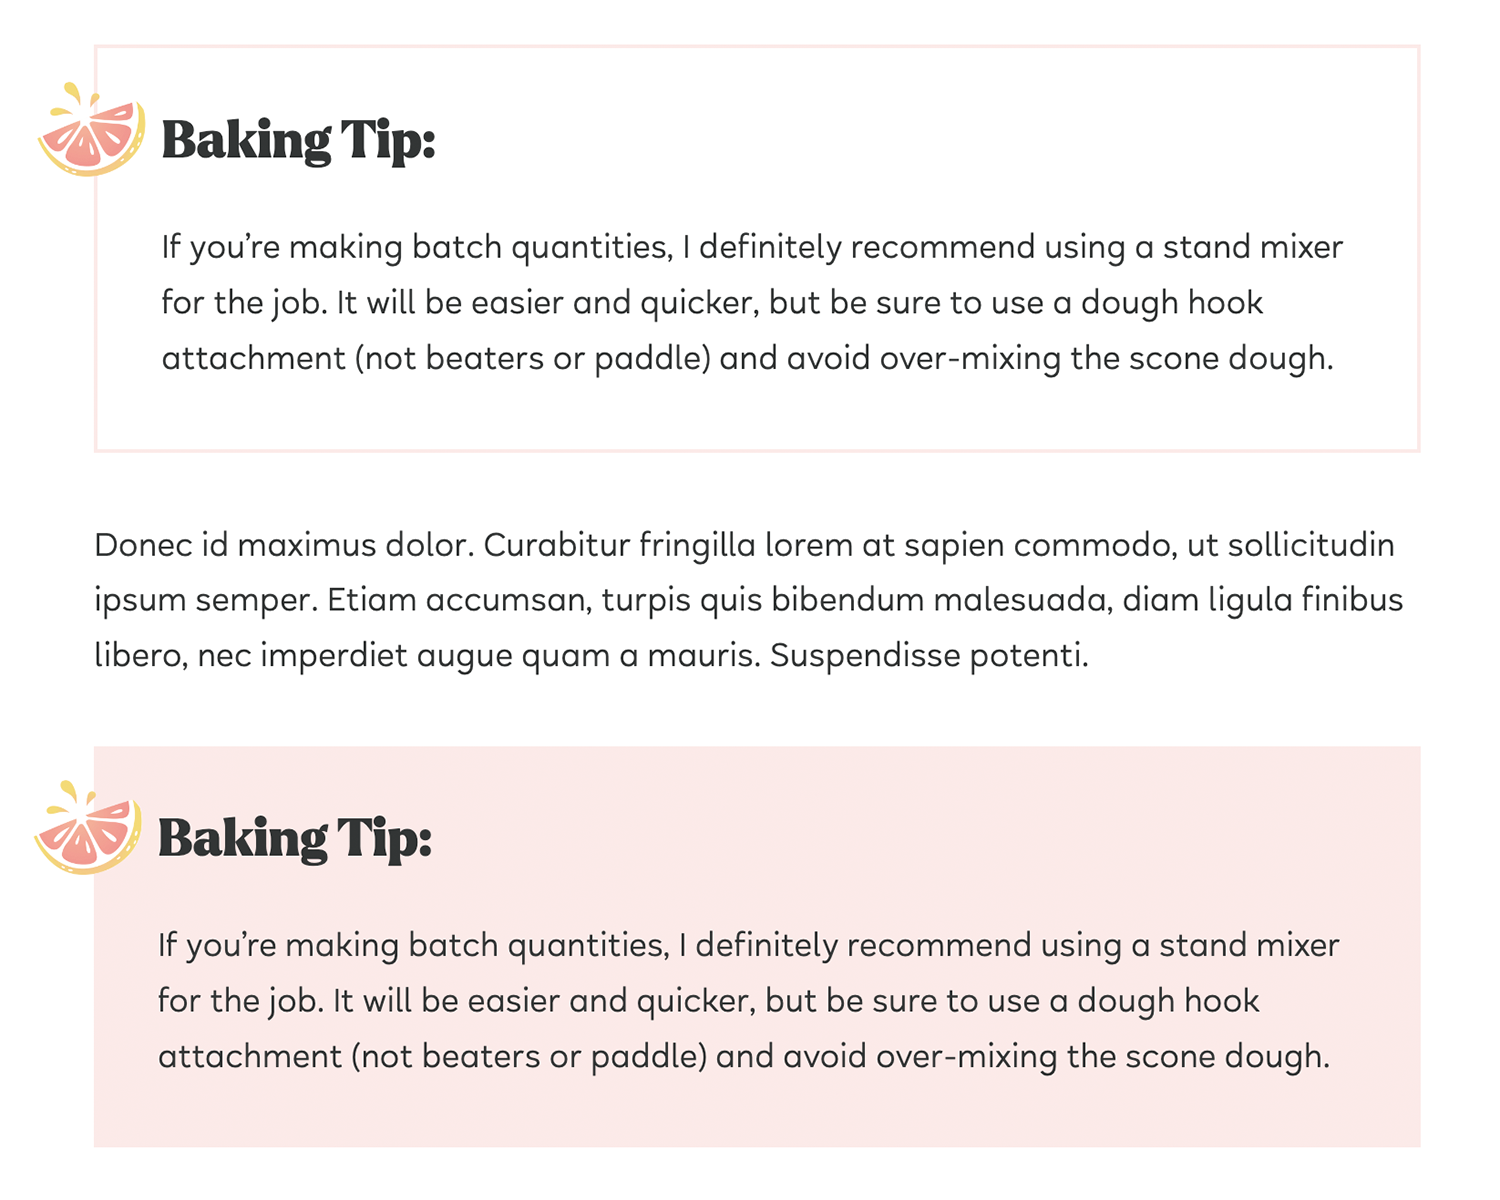
Group Blocks
Background colors can be applied to any block (like a list or paragraph), but if you want to shade a few blocks together (like a heading and a paragraph in the same shaded background), you’ll want to create a Group block to do so.
To create a Group block, add your content first. Then drag to select the Heading + other element(s) you want to group together. With them all selected, choose Options (3 vertical dots) and then “Group”.
Once you’ve grouped a few blocks together, you should see a blue border surrounding the entire Group. Without deselecting, you can then go to your Color panel and set a background color for the whole group.
Note that a quirk of the Block editor makes Groups nearly impossible to see/select when they don’t have a background color applied. So just get in the habit of choosing a background color immediately after creating a Group and you’ll be fine!
That said, if you lose track of a Group, use the List View button in the top toolbar to toggle an outline view of your content—you will be able to see any Group blocks there.
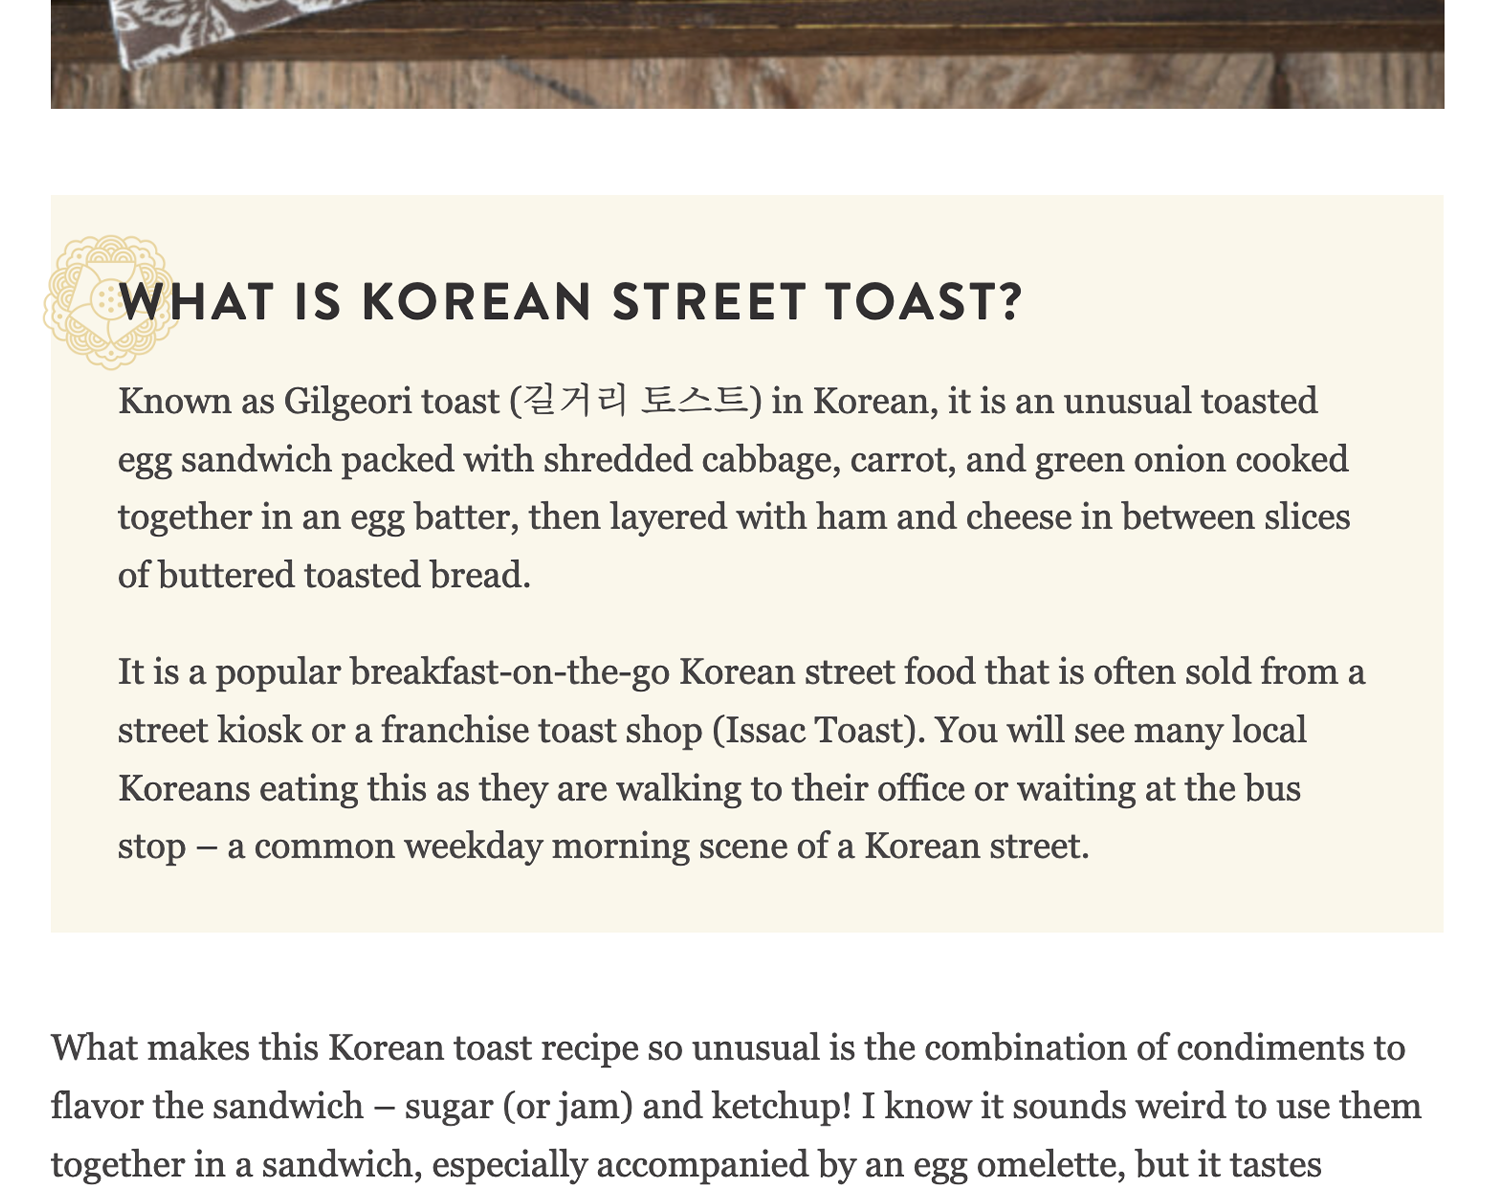
Nested Shading
In addition to simply shading the entire block a single color, background colors can also be nested, where the outer Group has one background color, and then an element inside the group (typically the Heading) gets another background color applied. This can make for some interesting styling without any more complicated icons or CSS classes.
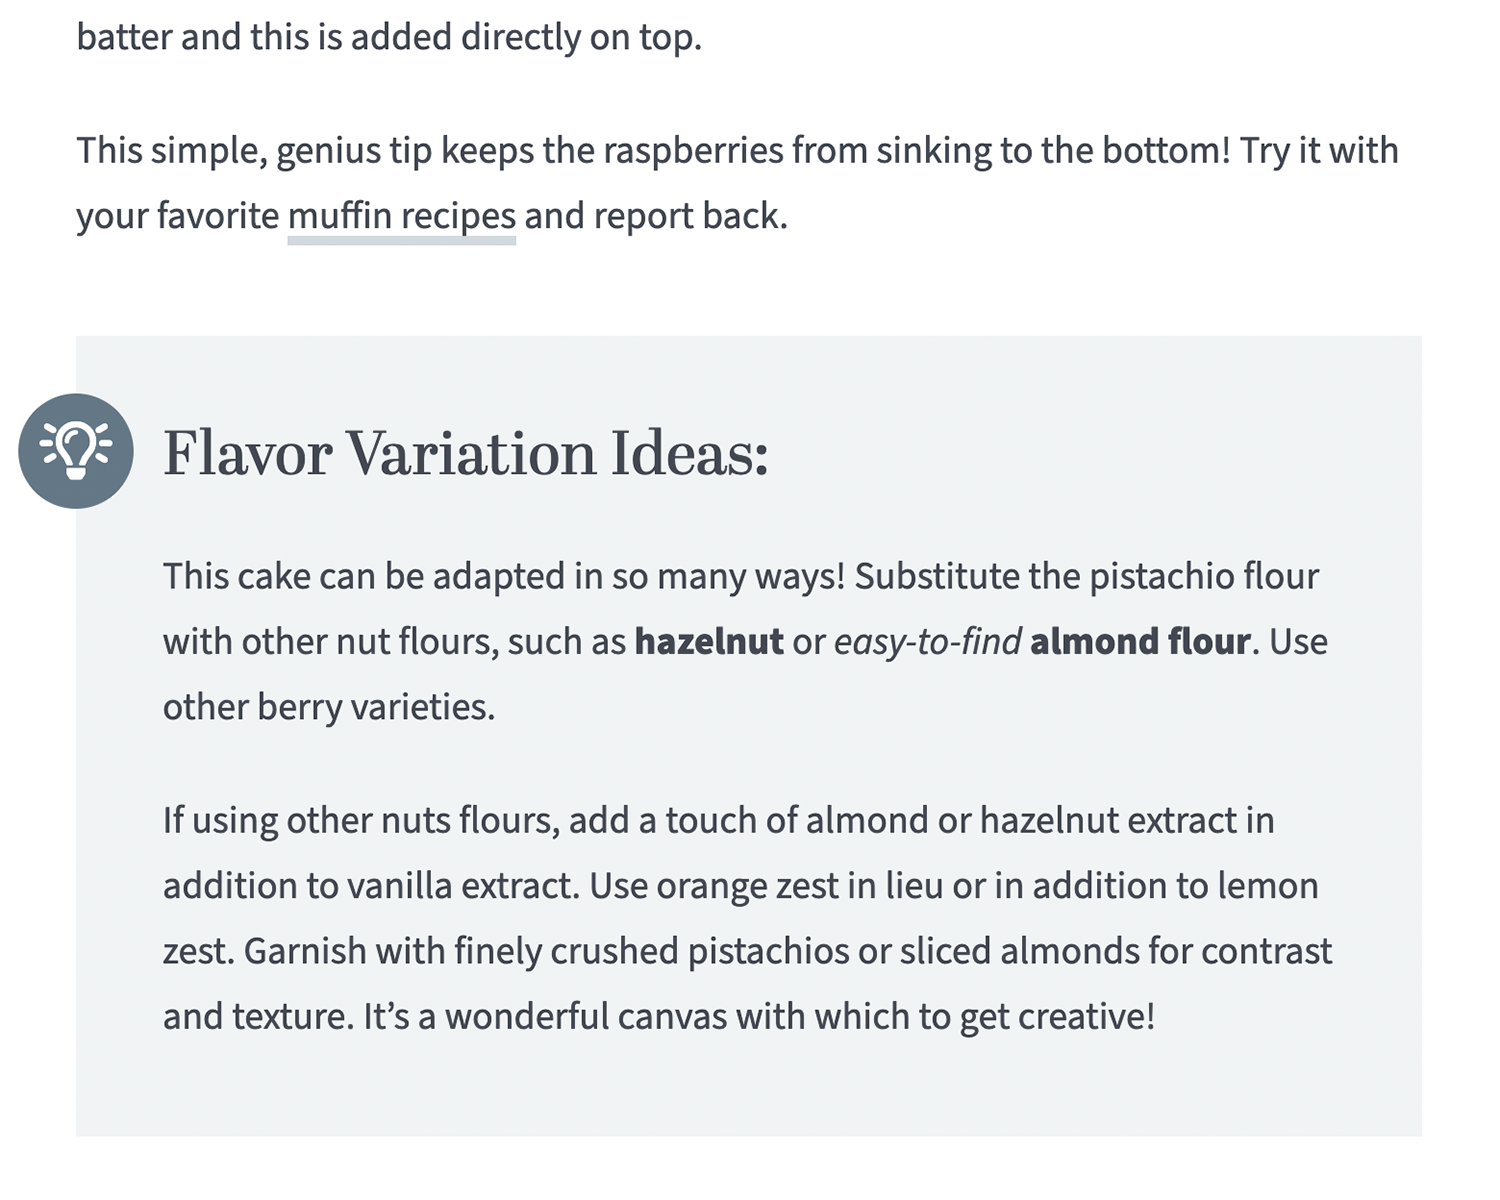
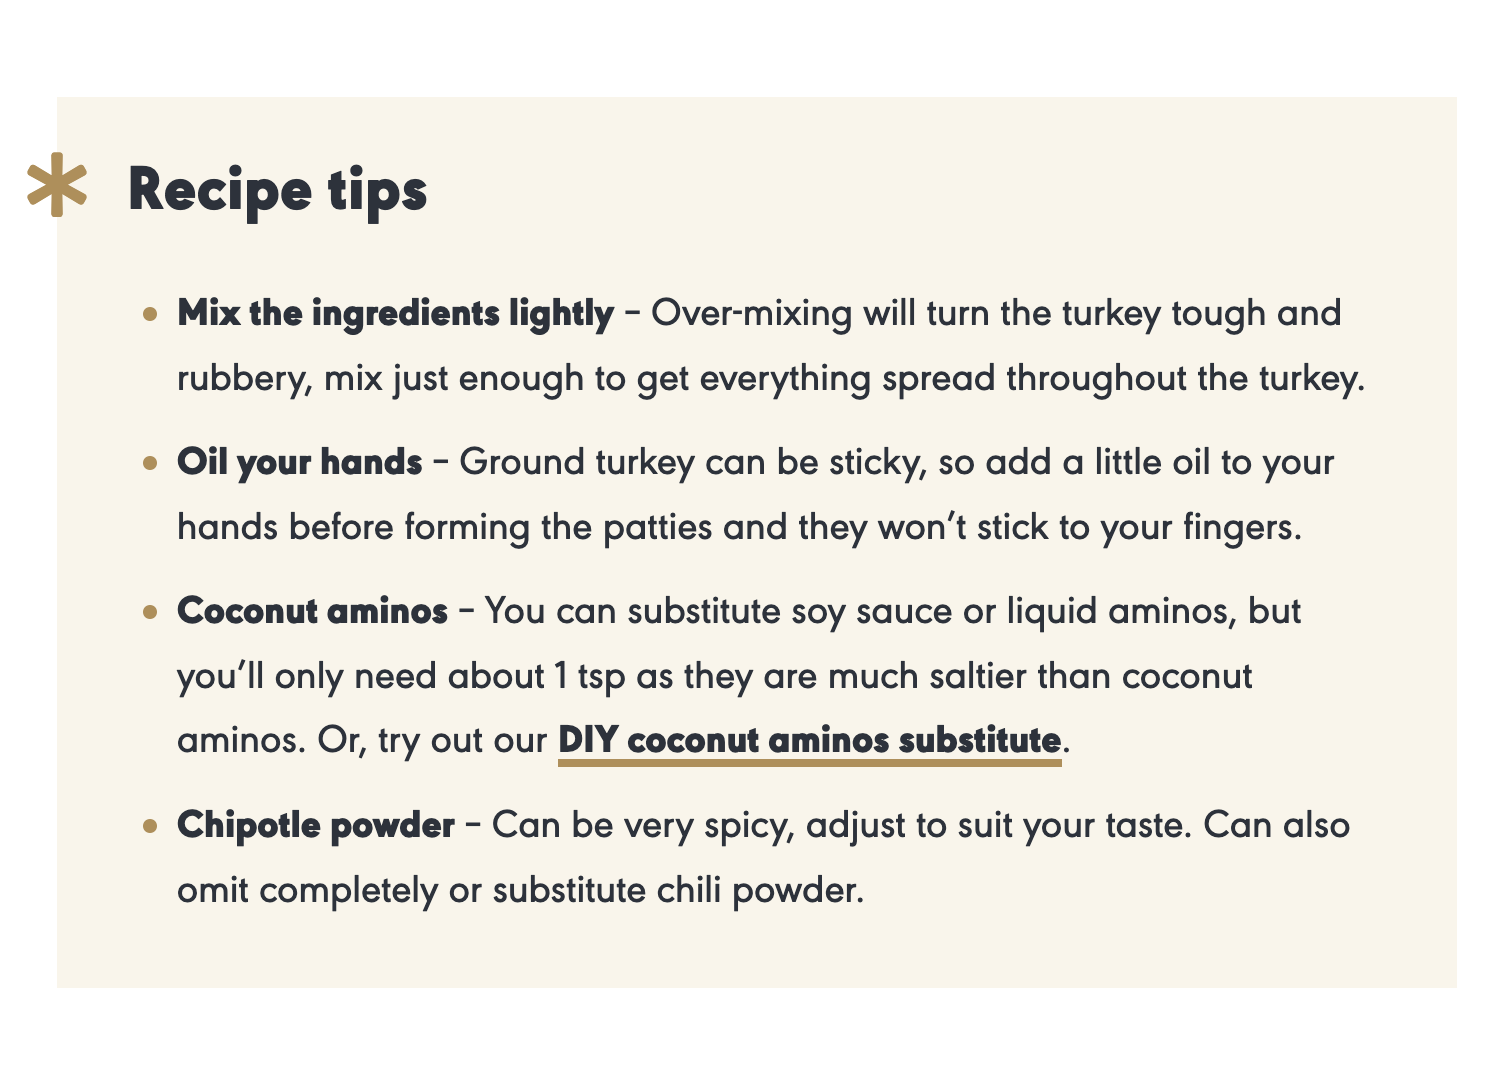
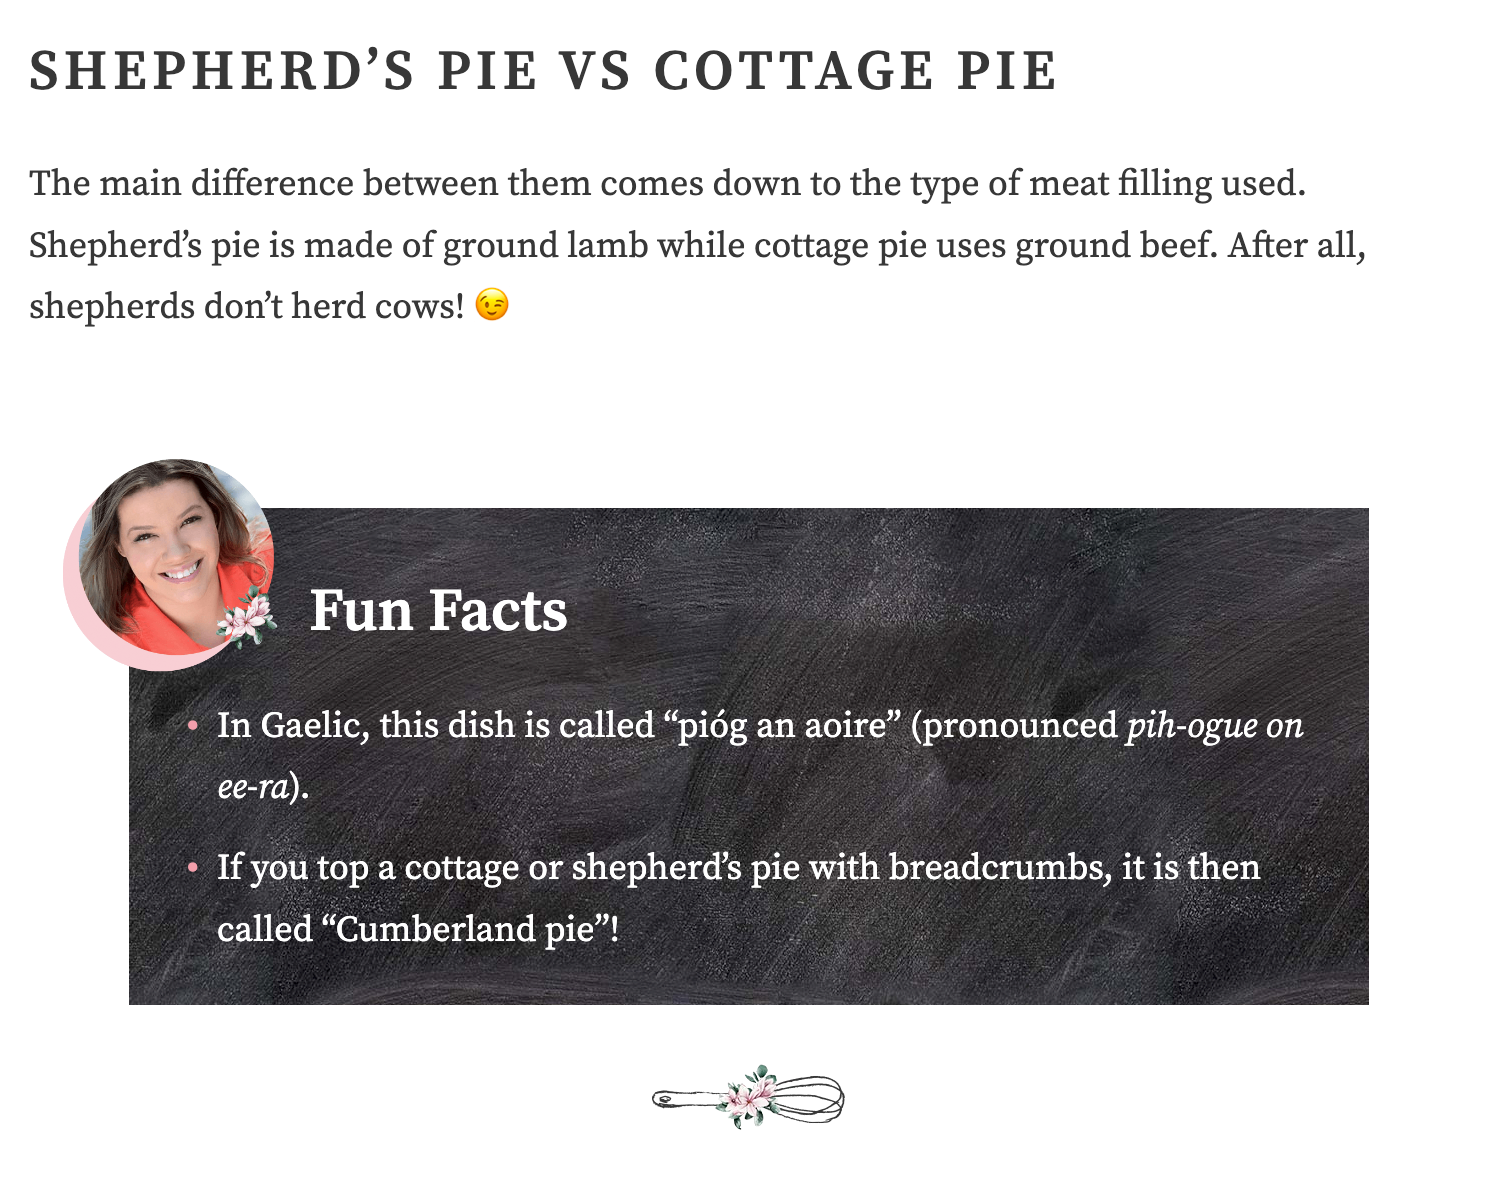
Icons/Enhanced Styles
For more eye-catching styling, we can incorporate graphic elements or icons.
The icons are added via a custom CSS class (CSS class field is available in the ‘advanced’ panel under the block settings). You can add this icon class to any heading, block, or group block.
Other enhanced styles could include stylized headings within shaded blocks, background patterns, outlines or borders.
Keep in mind that styles like this that utilize CSS classes, won’t show up in the post editor, but once you preview or publish the post, you’ll see them in the post itself.


Blockquotes/Reviews
Want to highlight a reader review? A blockquote is the proper way to feature a quote in your post.
We can also customize the appearance of blockquotes, and even add a custom ‘stars’ class that will add a 5-star graphic to the quote to make it eye-catching and obvious as a 5-star-review.

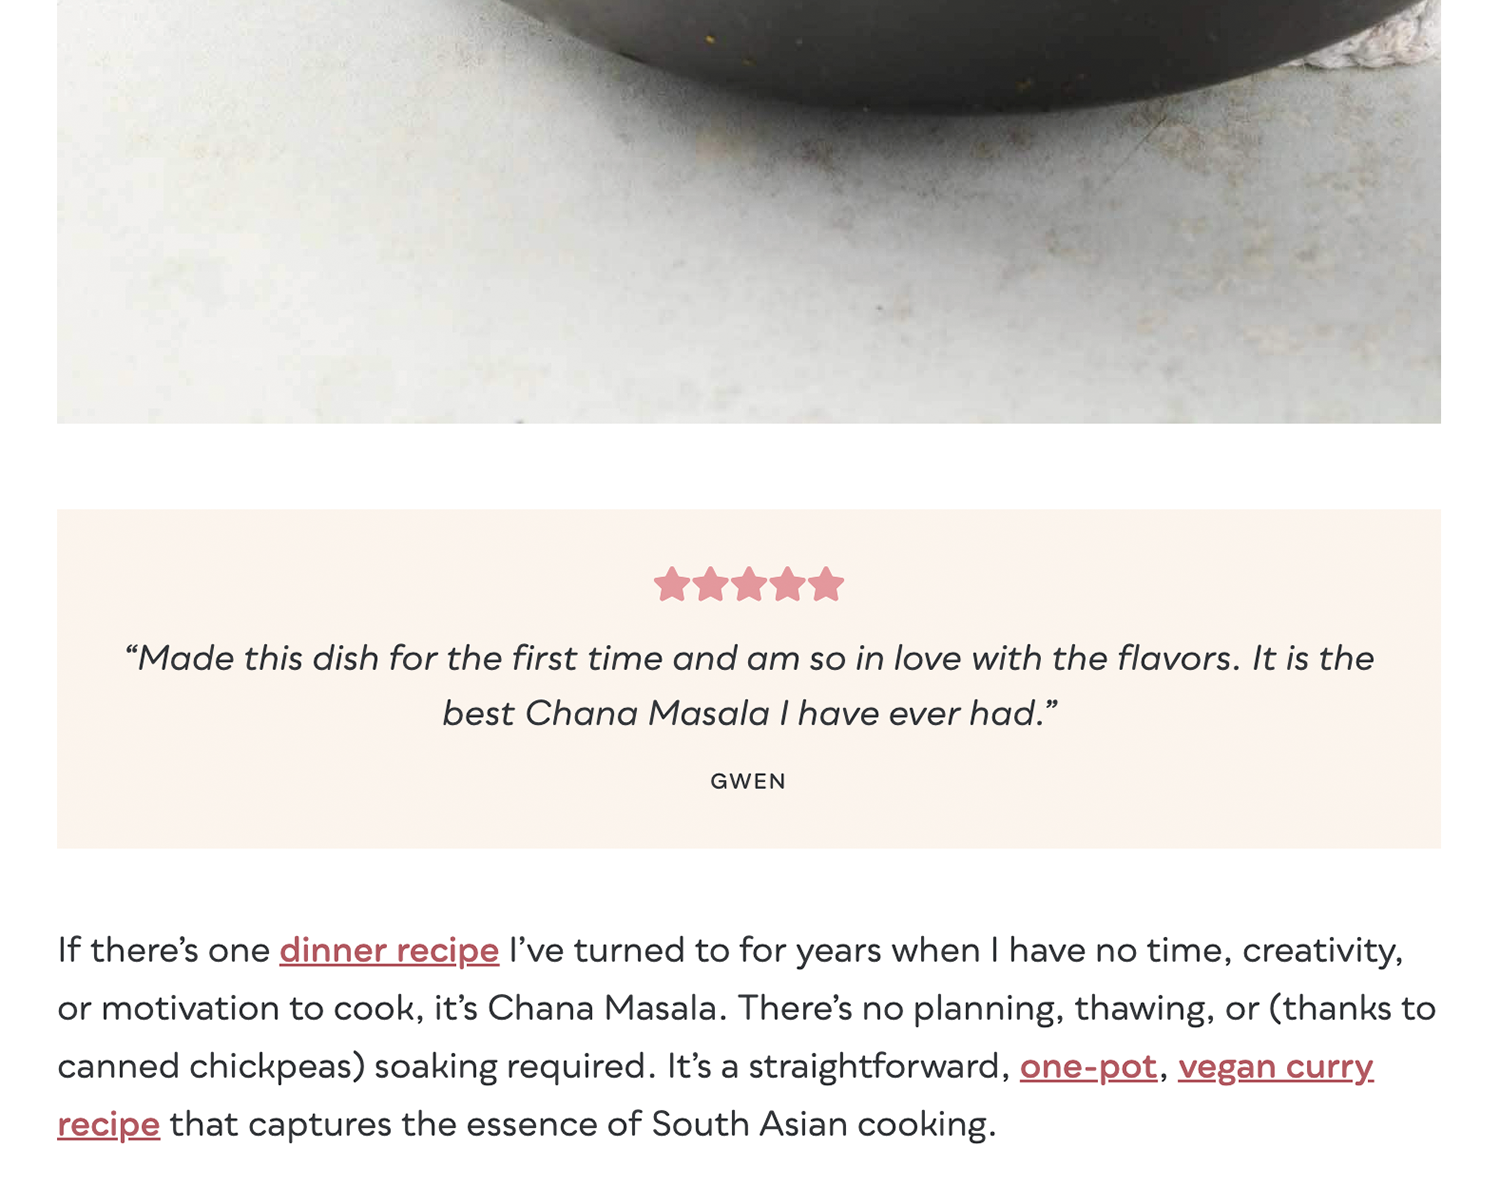

Image Galleries
Image galleries are a great way to fit more images in a compact space. Rather than having 3 large vertical images in a row, for example, you can have one large image and then 2 smaller images within a gallery so they sit side by side instead. It makes for a more visually interesting experience for your readers.
Additionally, for SEO purposes, having a gallery of multiple individual images is going to be more versatile than creating a single ‘collage’ type image. I know this was fairly common practice in the pre-Gutenberg days, simply for lack of a better gallery functionality.
Using a Gallery allows for alt tags for each individual image, so it is more accessible for your users as well.
The Gallery block works beautifully right out of the box, no customizations required! That said, if you want the ability to link gallery images, or maybe you want a fancy image lightbox feature to view the full size images within a gallery (like the galleries in this post for example)… additional plugins or custom functionality may be required in that case.
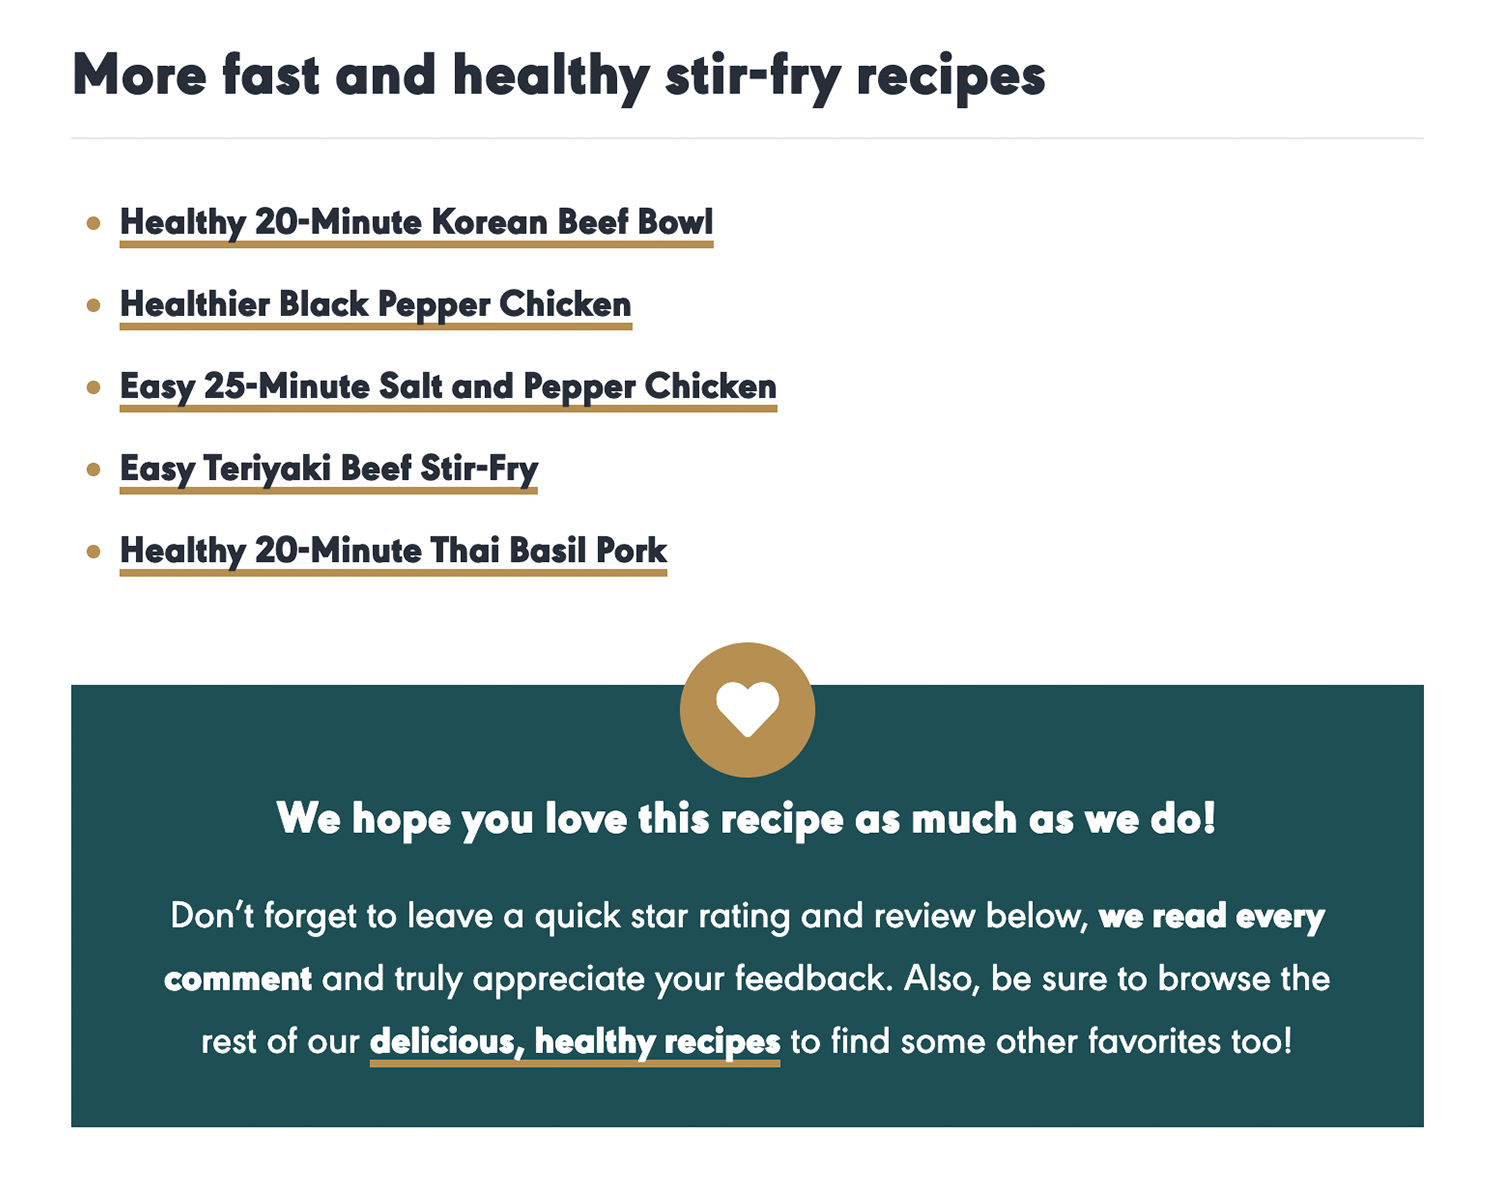
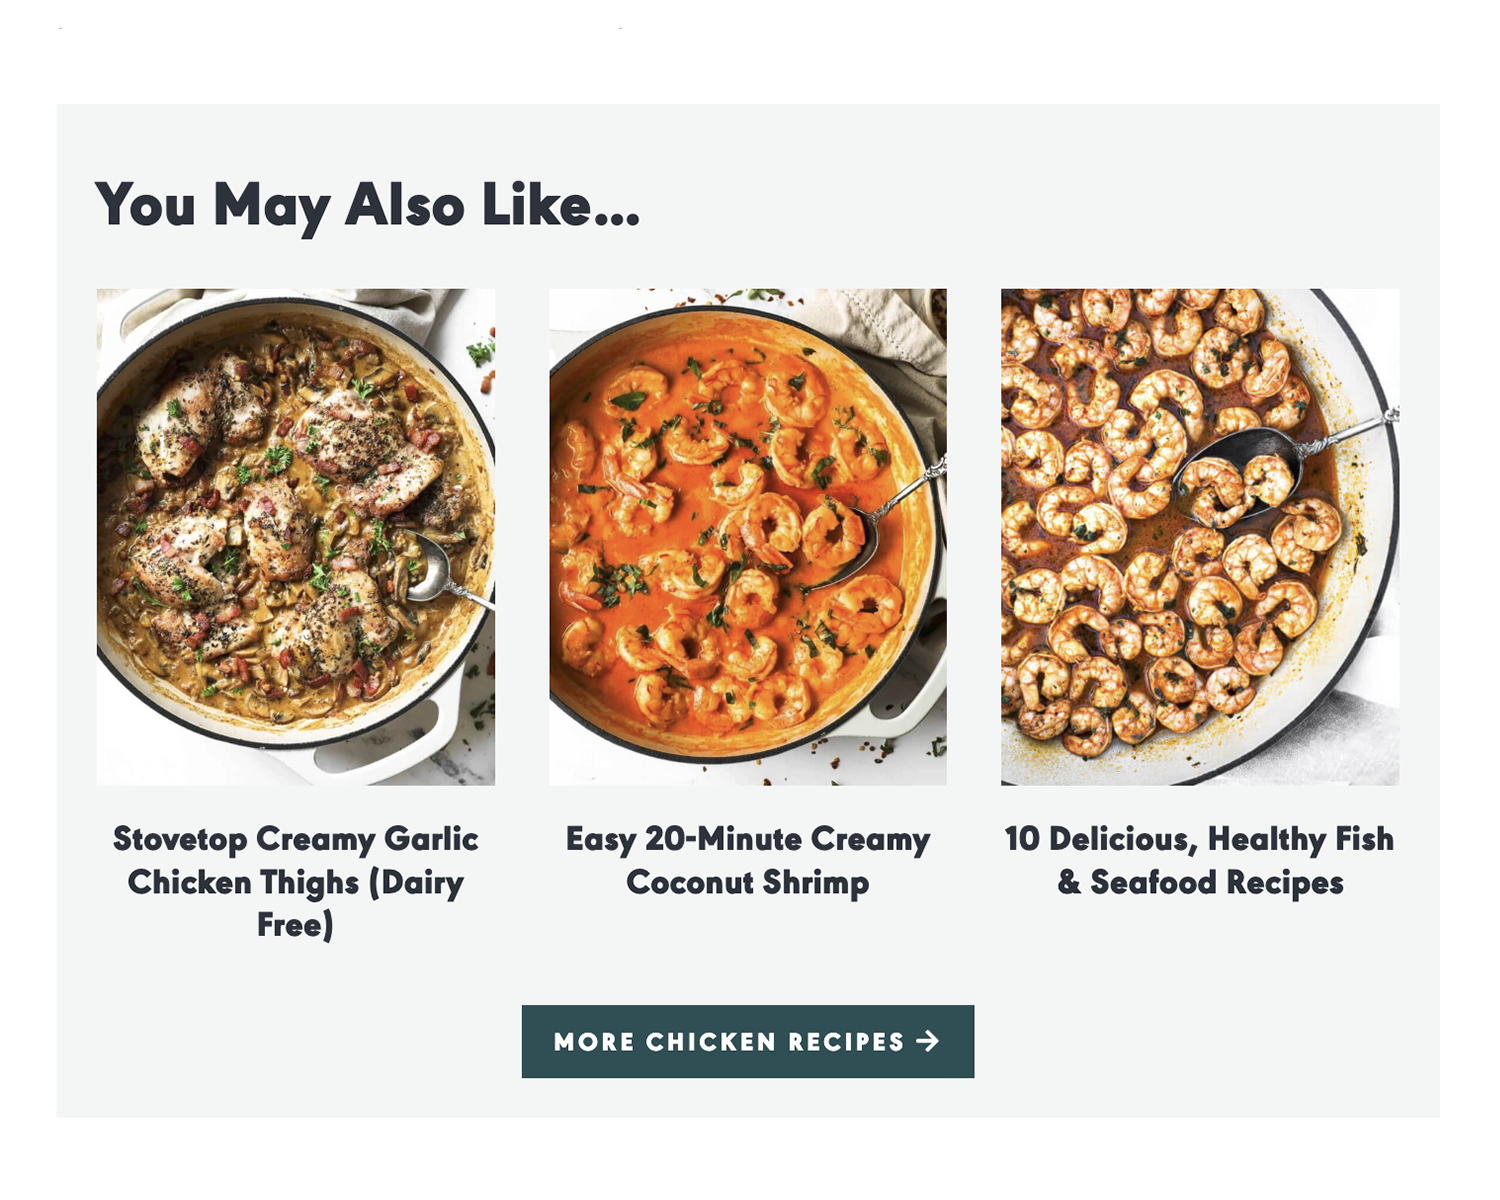
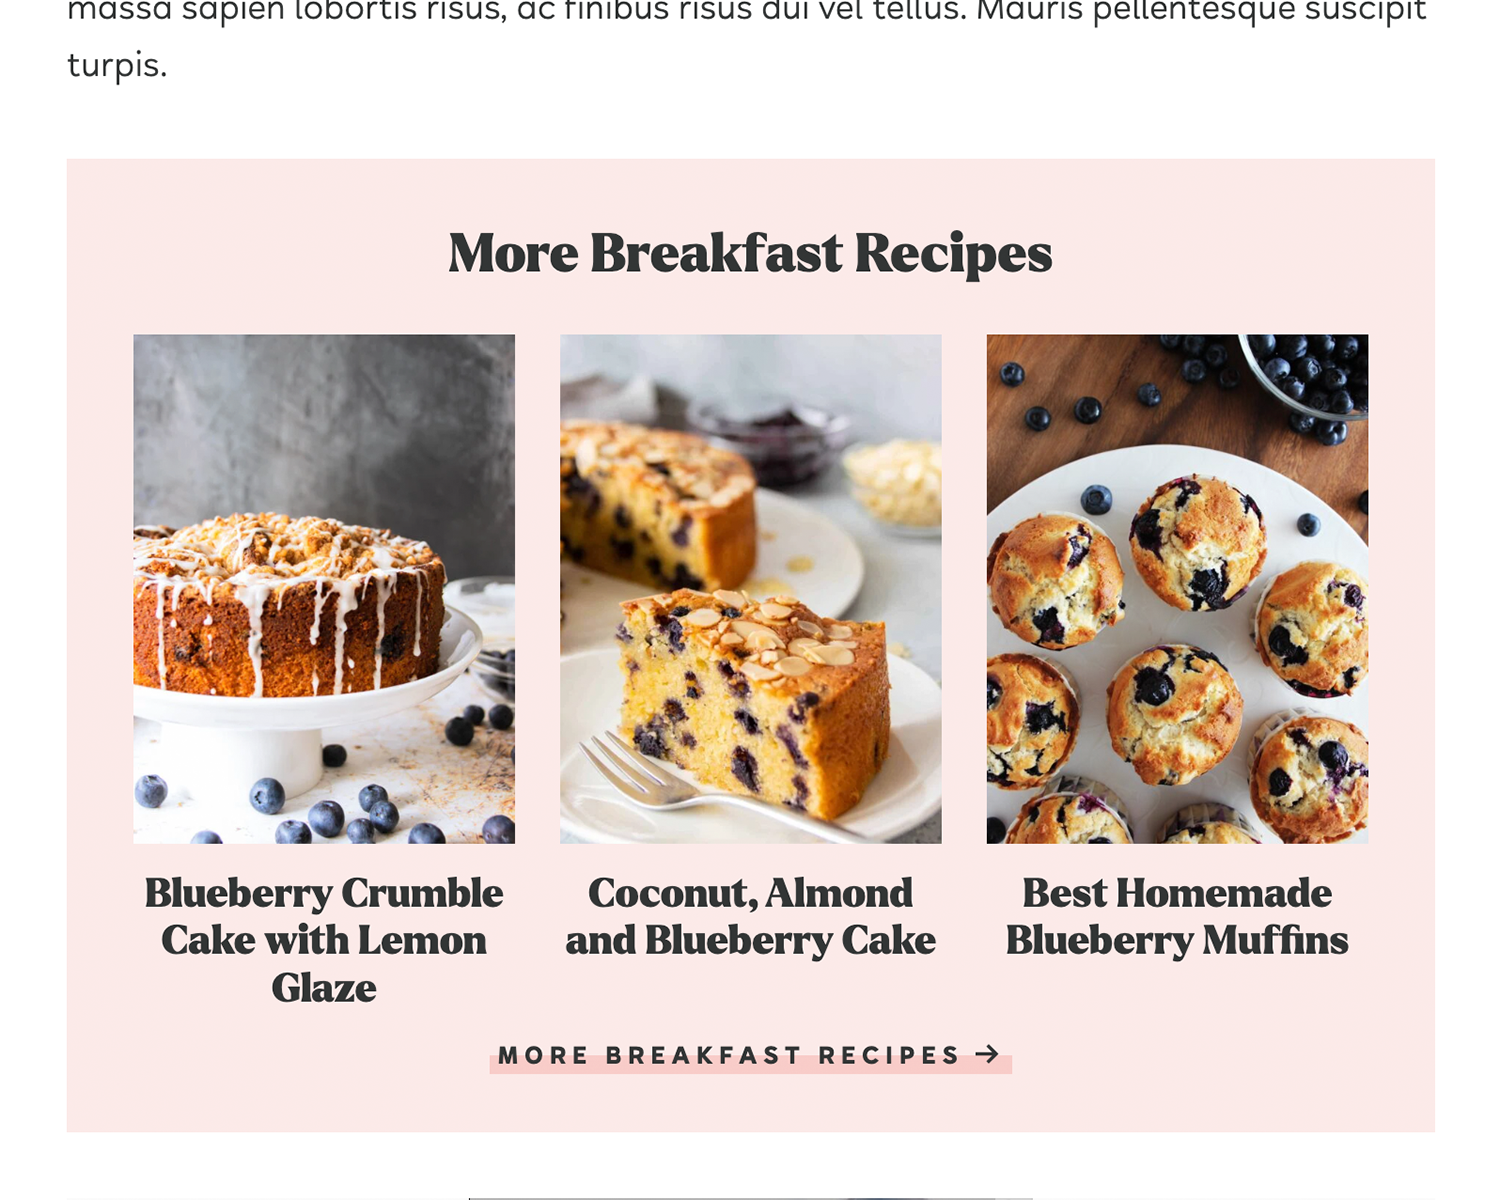
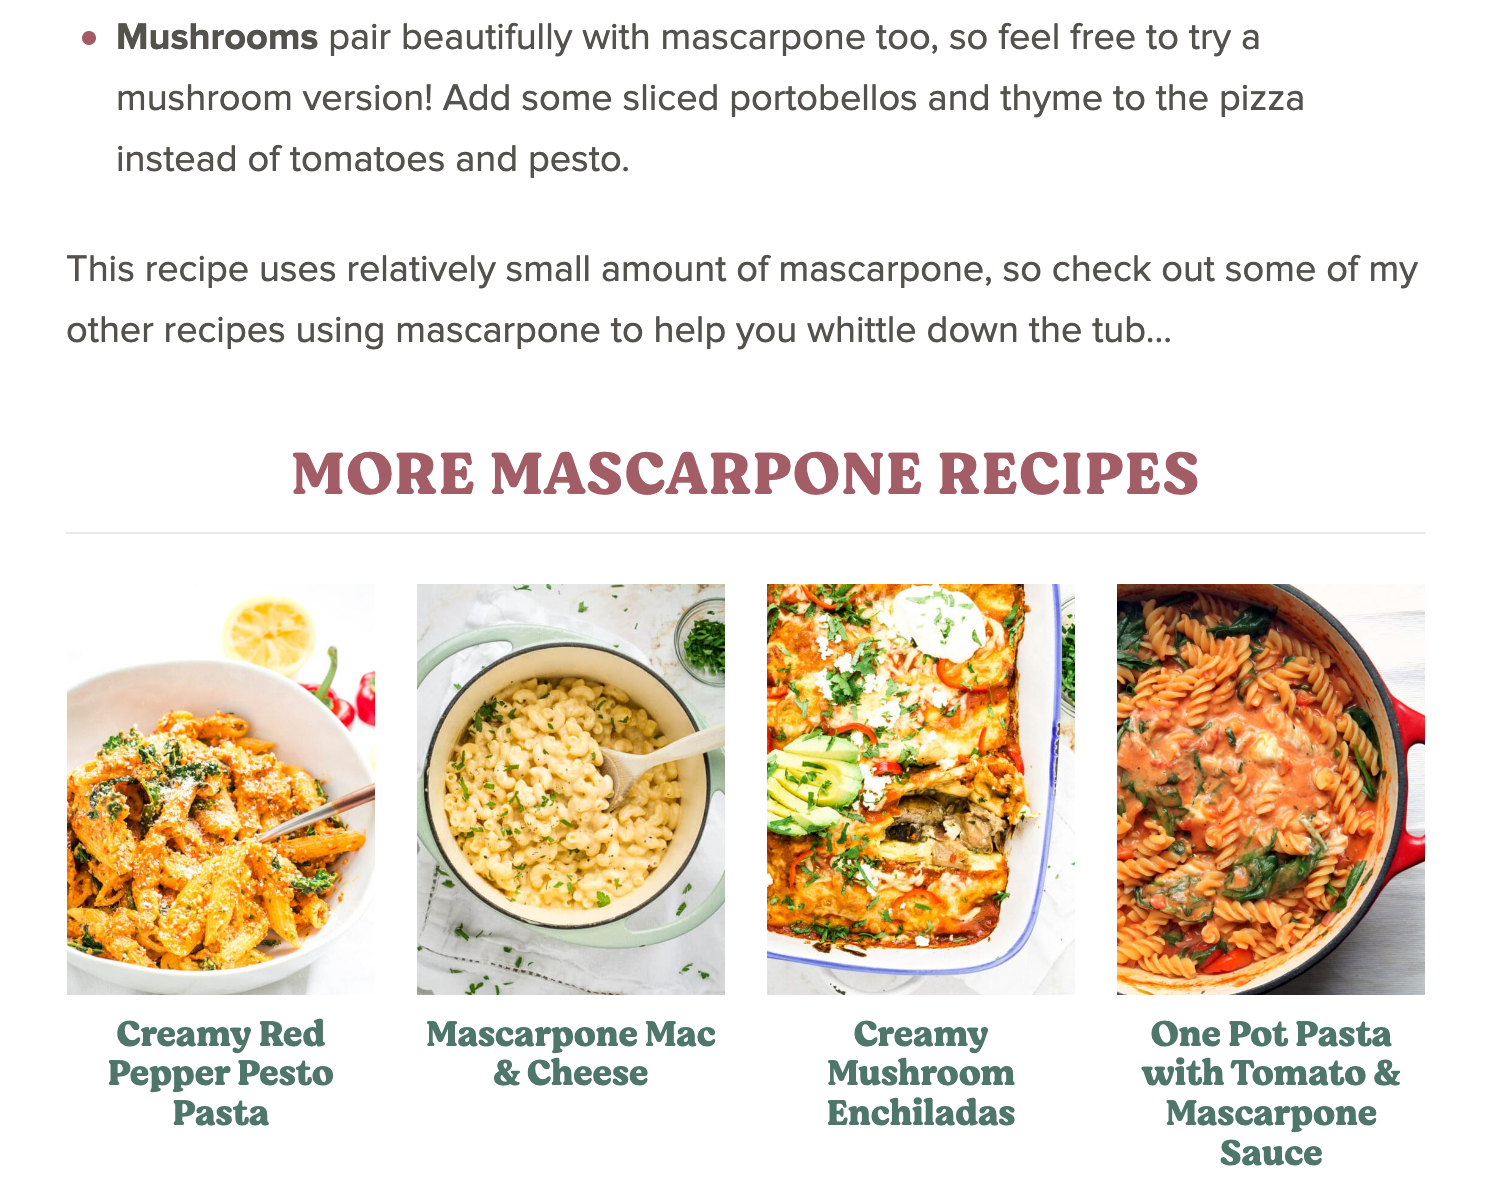
Custom Featured Posts
If you want to more visually highlight a set of featured posts or related posts with thumbnail images ( “you may also like” for example), we have a custom block for that!
Our Custom Featured Posts block is the most common Custom Block we use, allowing clients to display a set of visual featured posts with thumbnail images. It’s useful for adding a ‘related post’ section, for example.
The Block’s fields allow you to set a title, pick your posts, choose the # of columns, as well as add an optional ‘more’ link and/or a description.
You can also apply block styling to the Custom Featured Posts blocks, such as a background color or outline.


Custom Blocks vs Styled Blocks
So far, the type of customizing I’ve described is simply styling applied to native WordPress Blocks, via background colors or CSS classes.
A fully custom built Block isn’t often necessary, styling alone can provide many of the features you may need. But when an actual custom Block is required, we can build these on an as-needed basis using Advanced Custom Fields. Our Custom Featured Posts block is a great example of this.
We generally like to avoid using Block expansion plugins unless absolutely necessary, as they often add dozens of new Block types with lots of extra styling and scripts. A custom Block built in to your theme, on the other hand, will have all styling incorporated into your main stylesheet so it is much more efficient. That said, it’s not really practical for highly advanced features (say, carousels or pricing tables), which may necessitate a plugin.
You should also keep in mind that any Block customizations, whether it be a brand color palette or a custom block built in to your theme, is dependent on your theme. If/when you ever switch themes in the future, you’ll need to account for the Block customizations lest all your old/existing blocks break or appear unstyled.
Third-Party Blocks
As mentioned above, we generally like to avoid bulky Block plugins for speed reasons. However, there are a few specialty Blocks that come with SEO plugins like Yoast and AIOSEO that are quite useful, and we can certainly customize their appearance to better match your site.
FAQ
The SEO plugin Yoast includes a built-in FAQ block that adds frequently asked questions with appropriate schema markup.
We can stylize the FAQ block, maybe include some colorful question mark icons or offset each question in its own frame.
The FAQ block doesn’t include a heading as part of the block itself, so it’s a good idea to add your own H2 before the block itself.

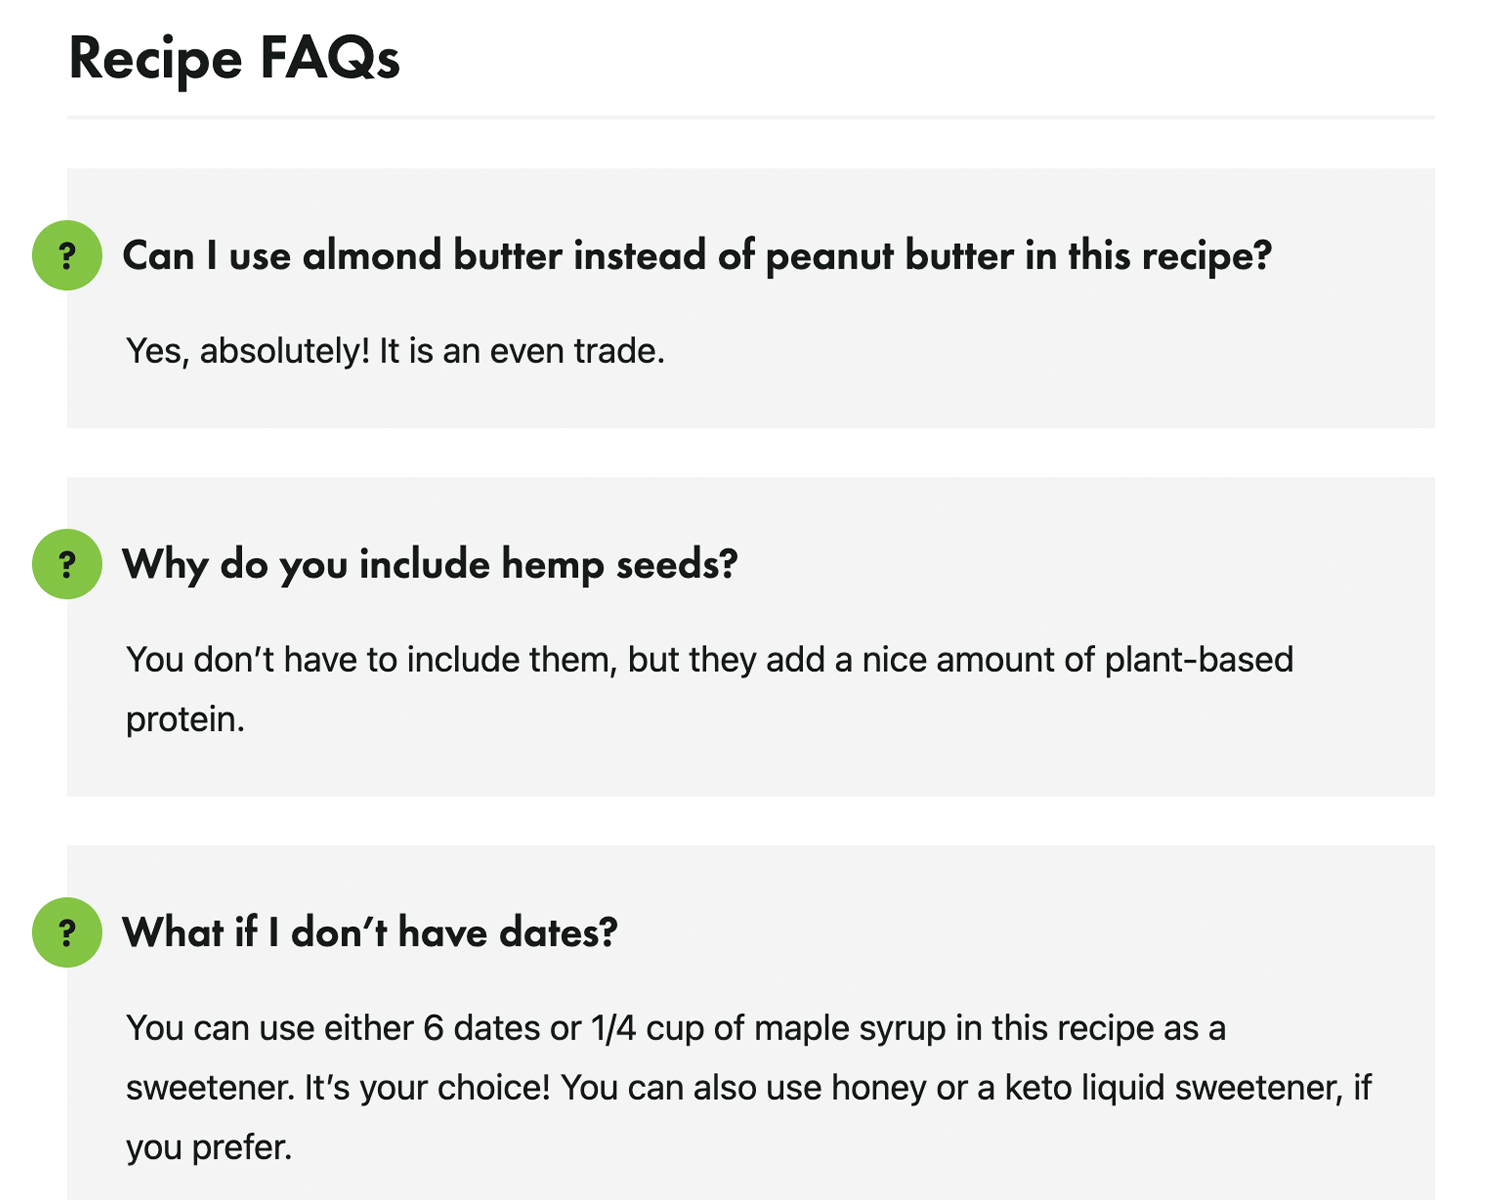
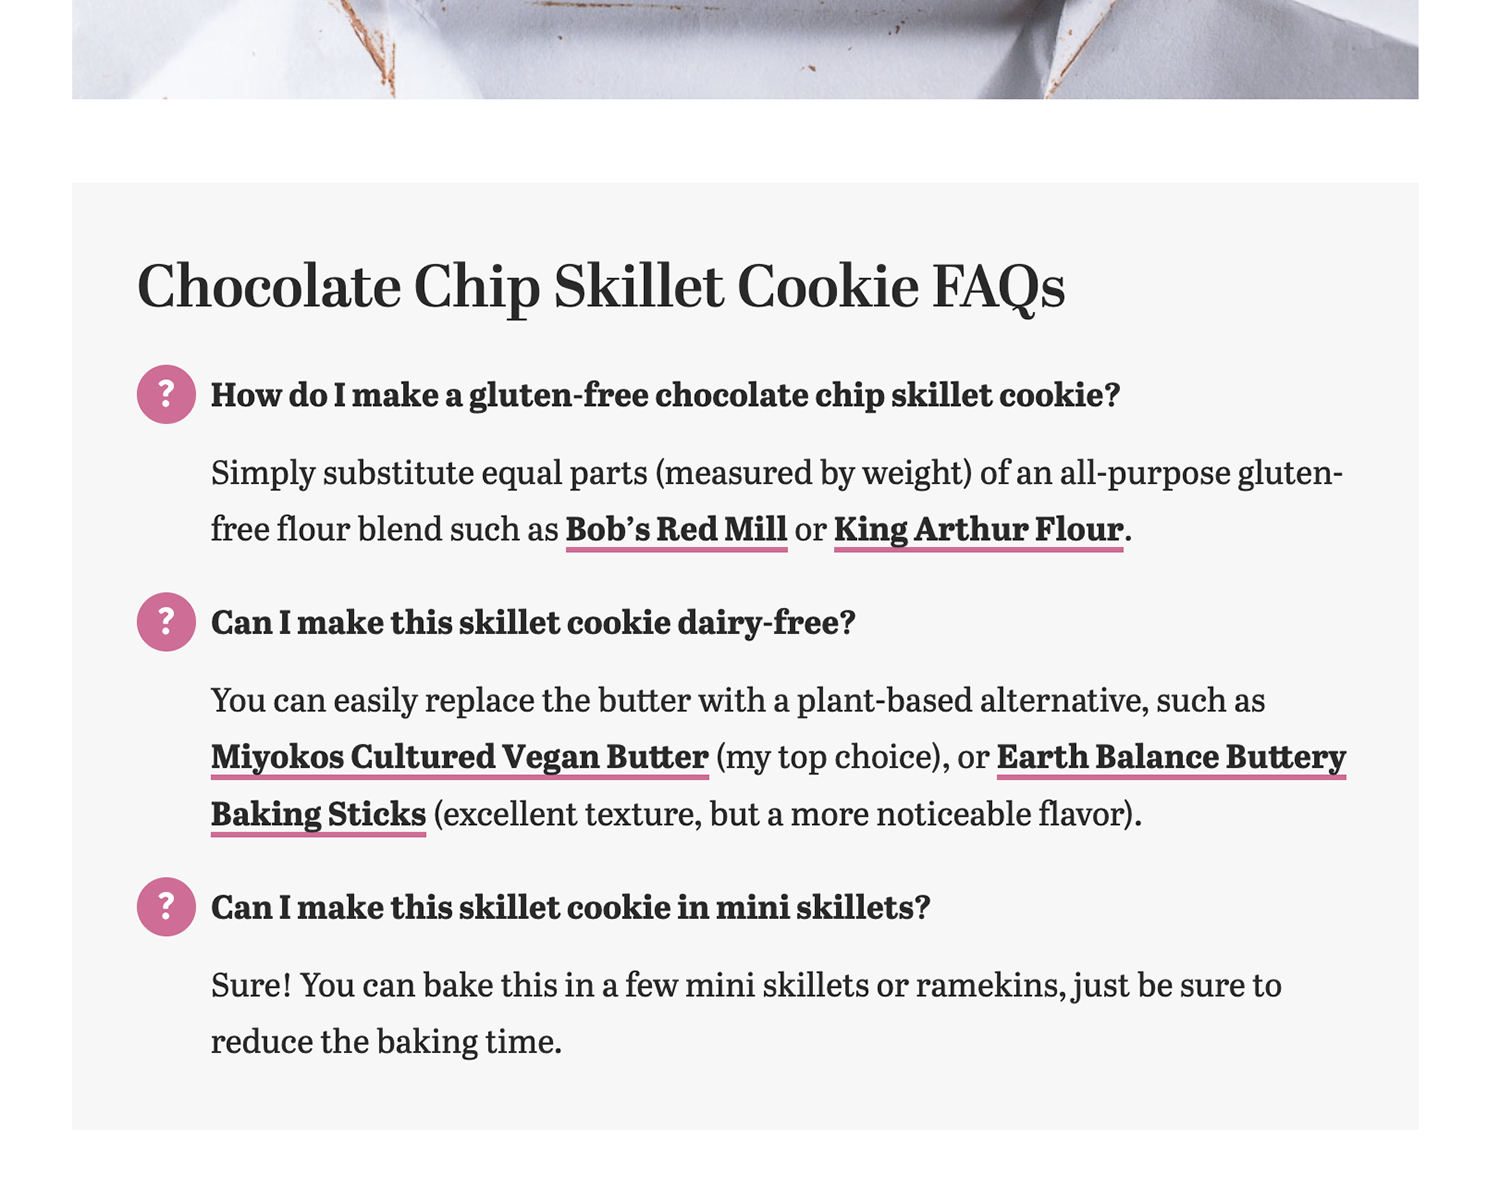
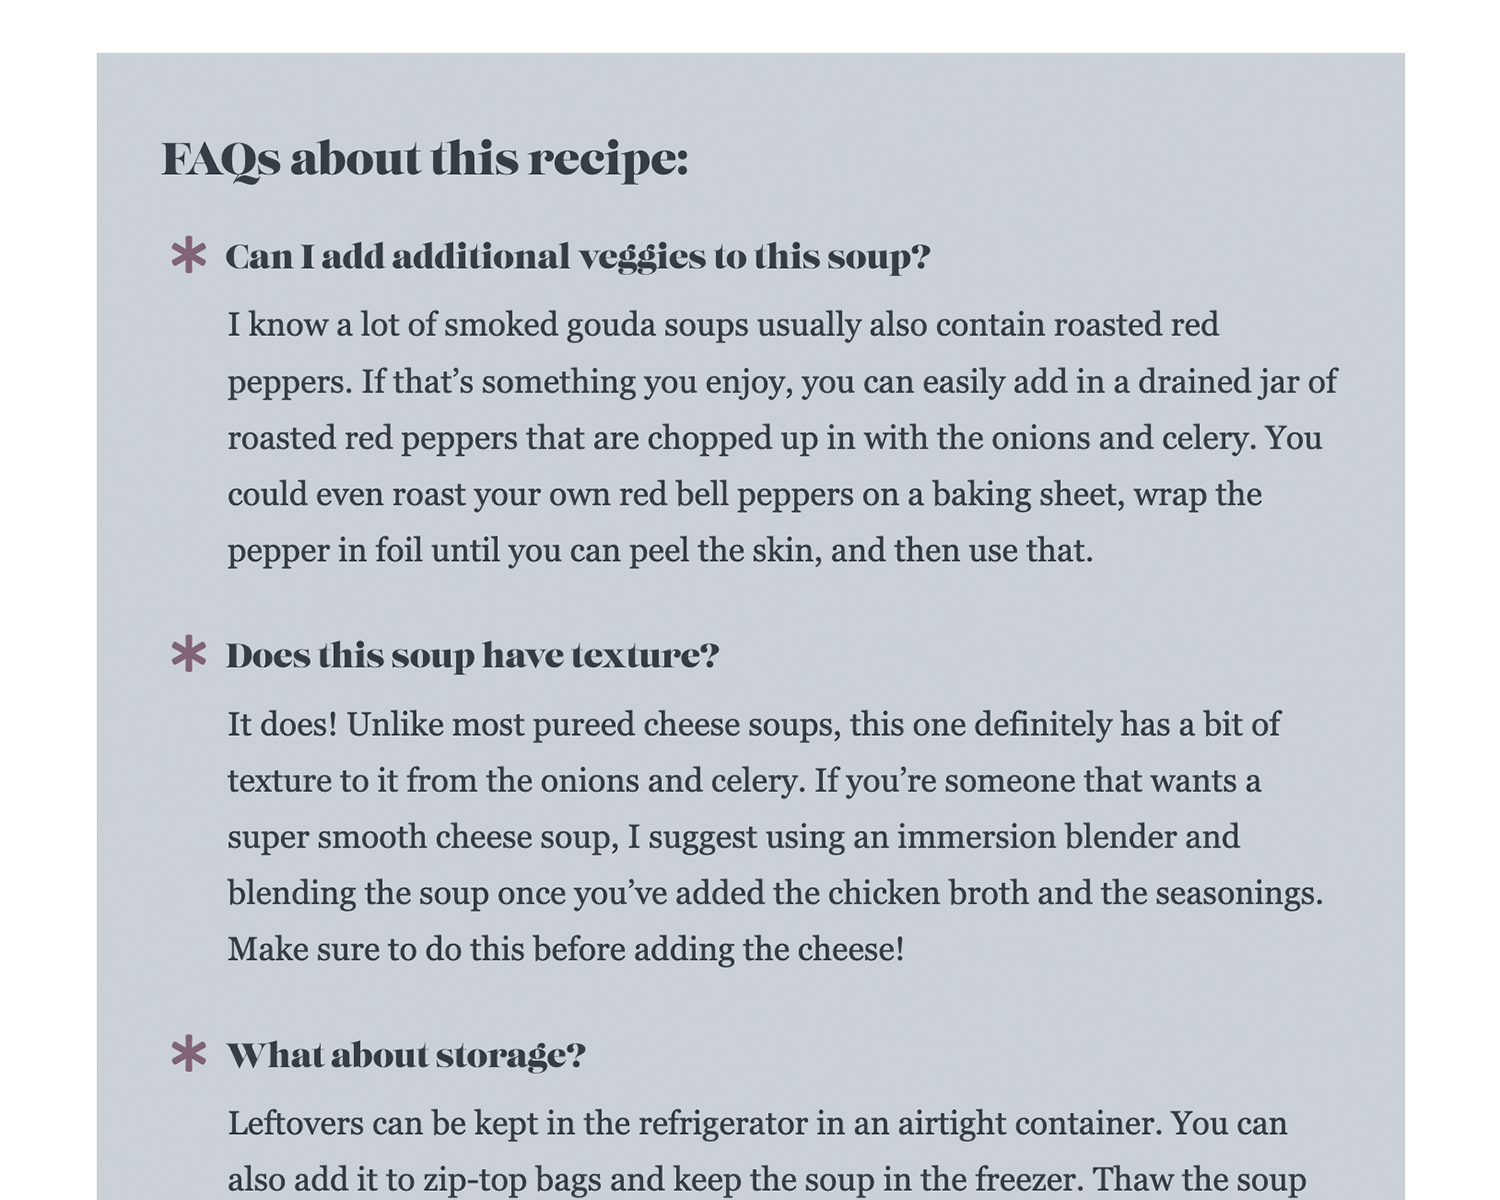
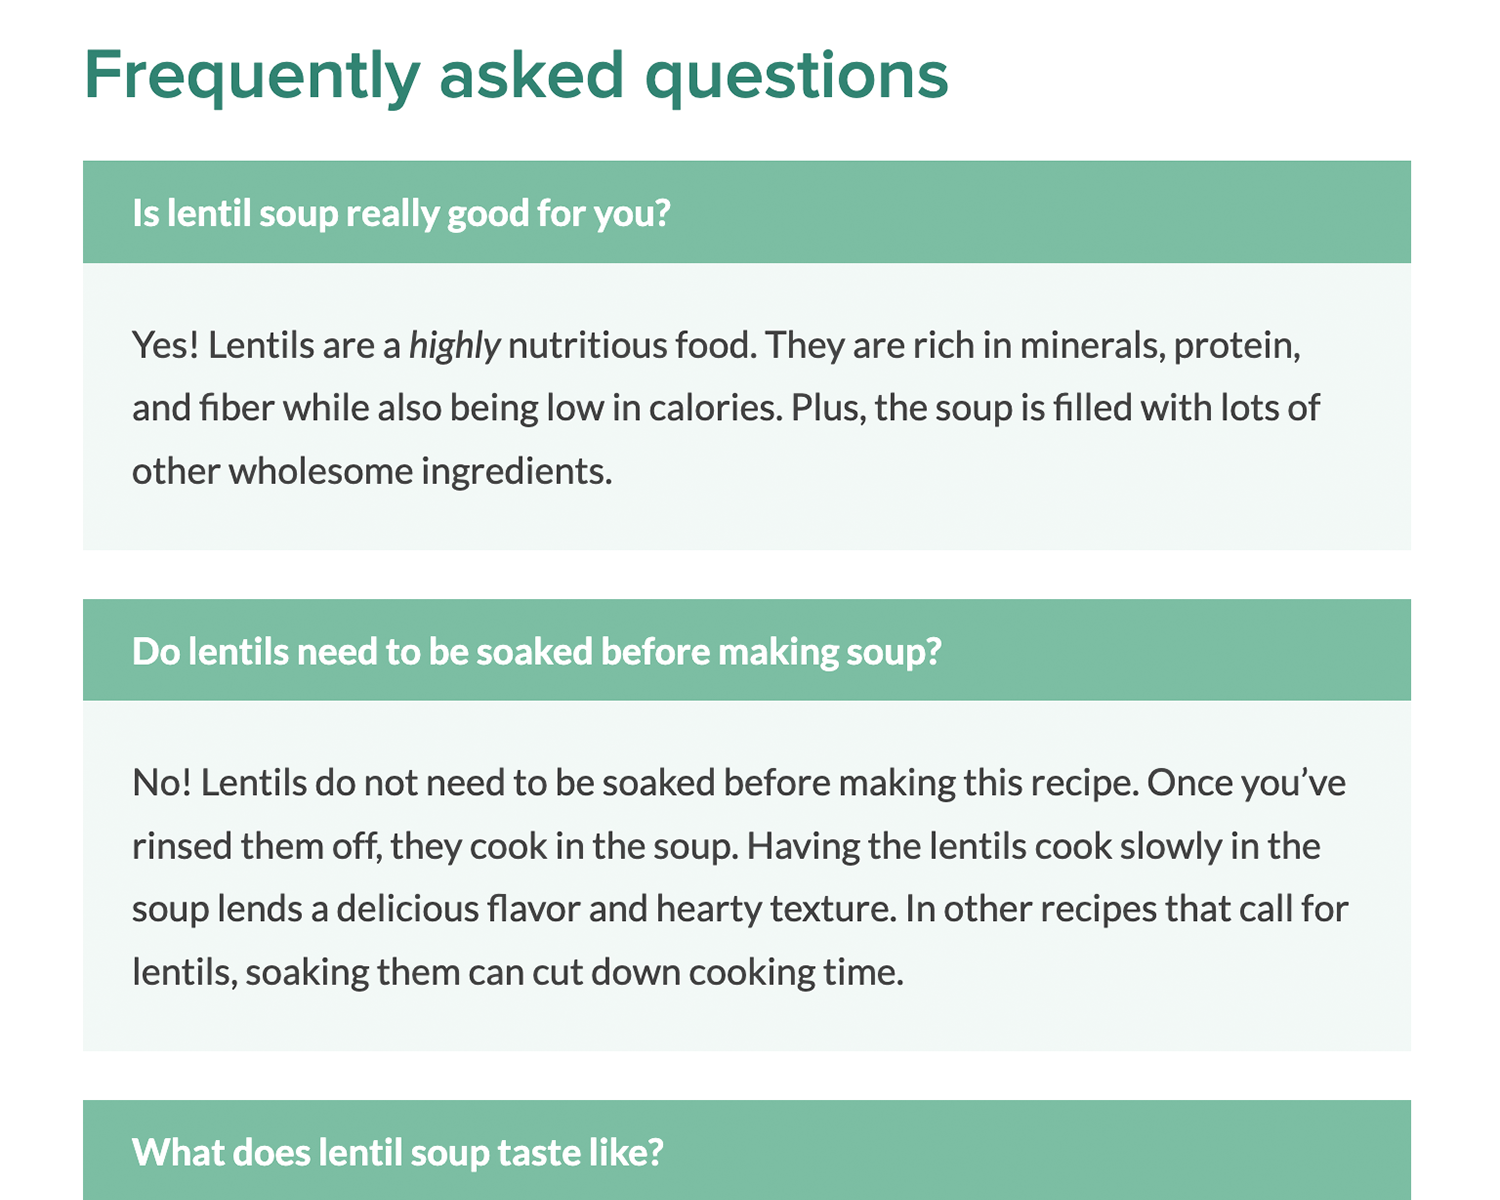
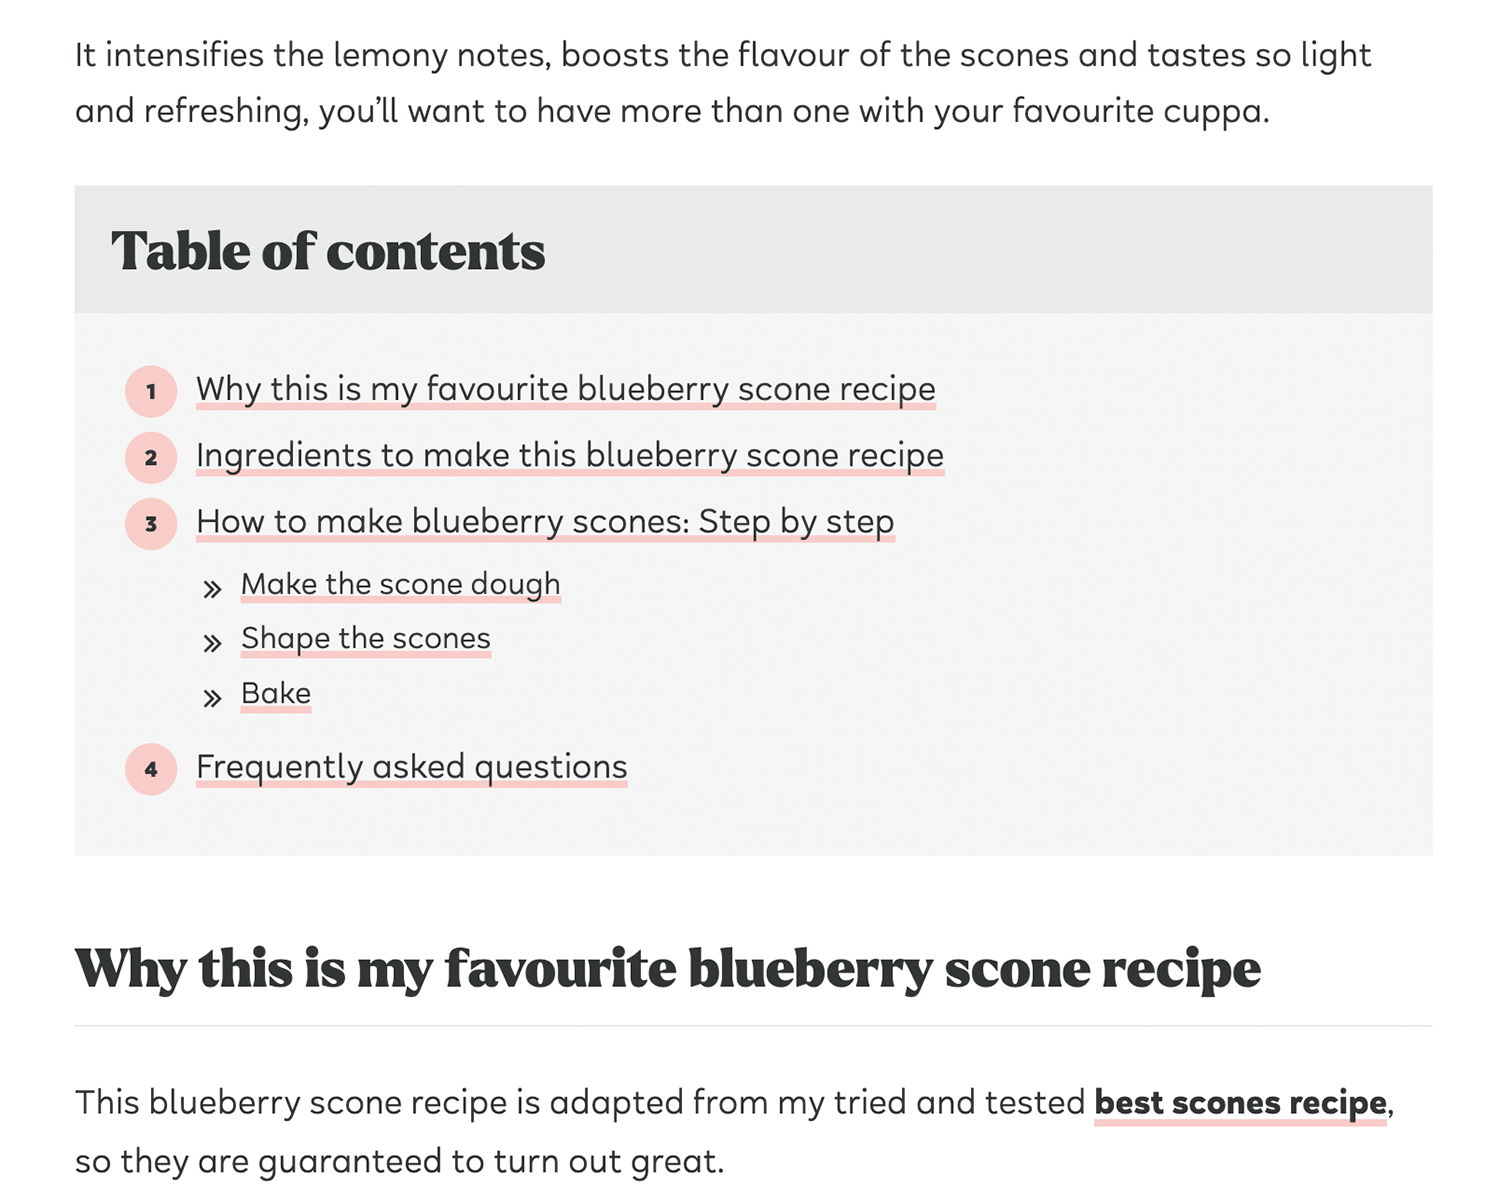
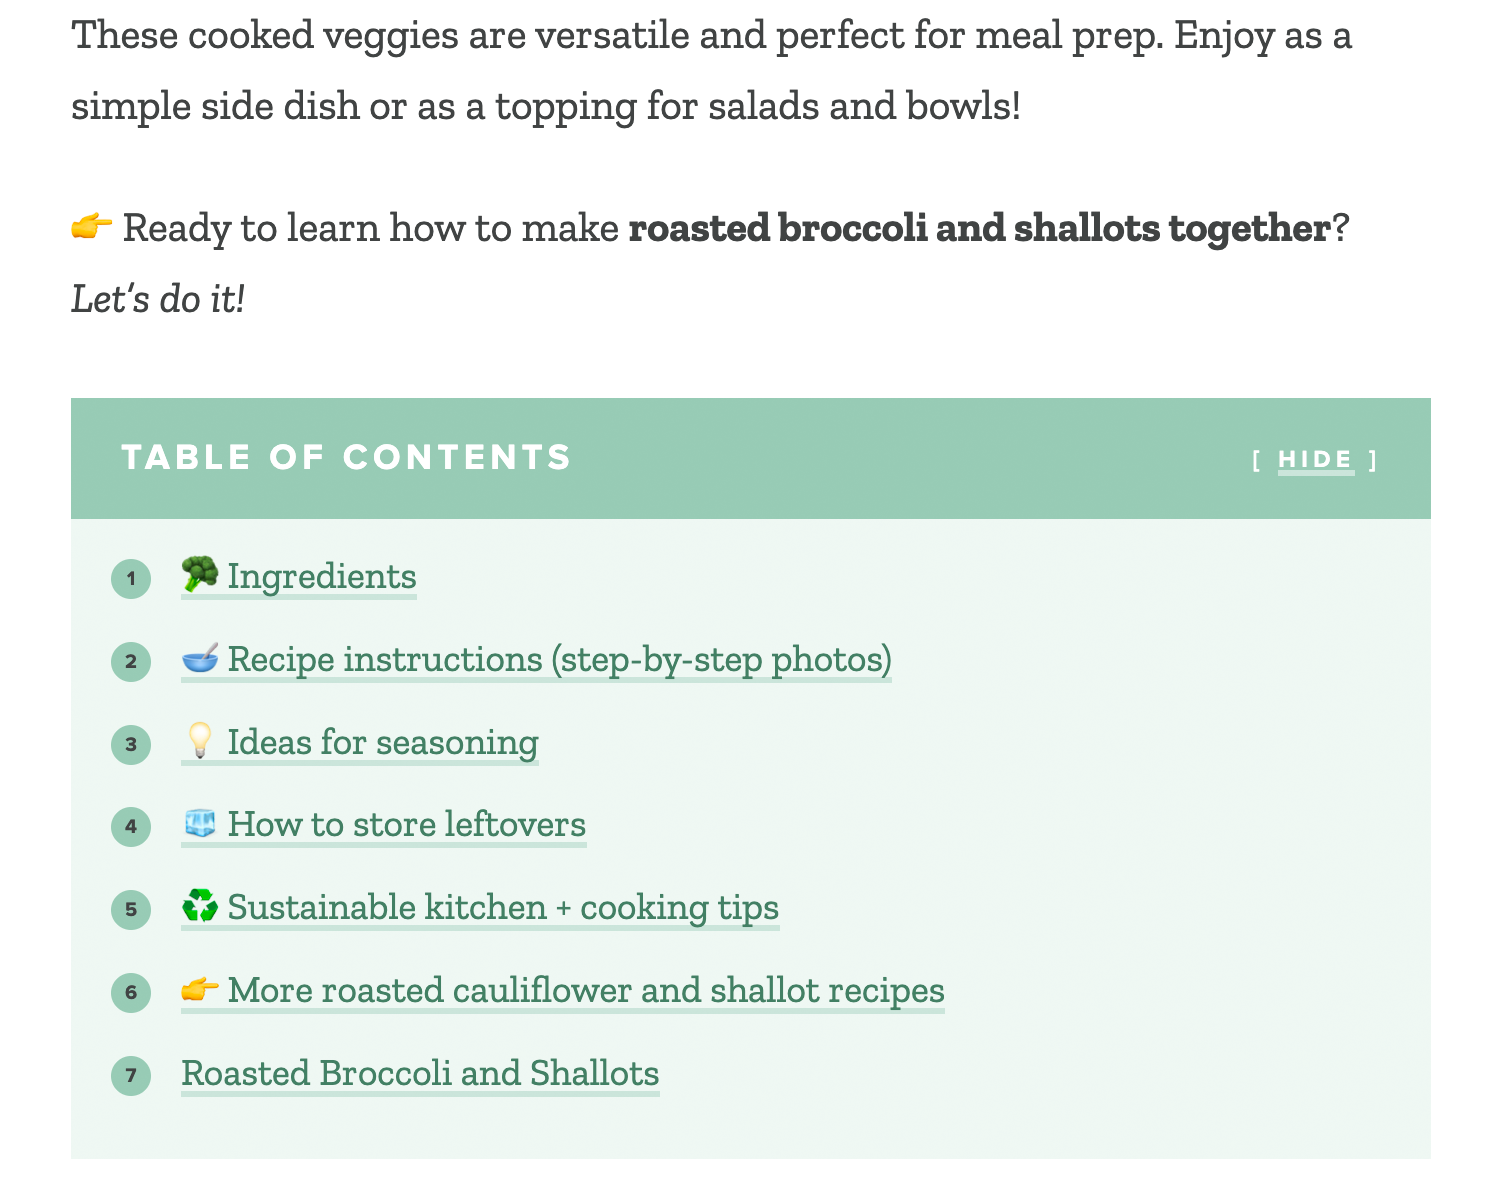
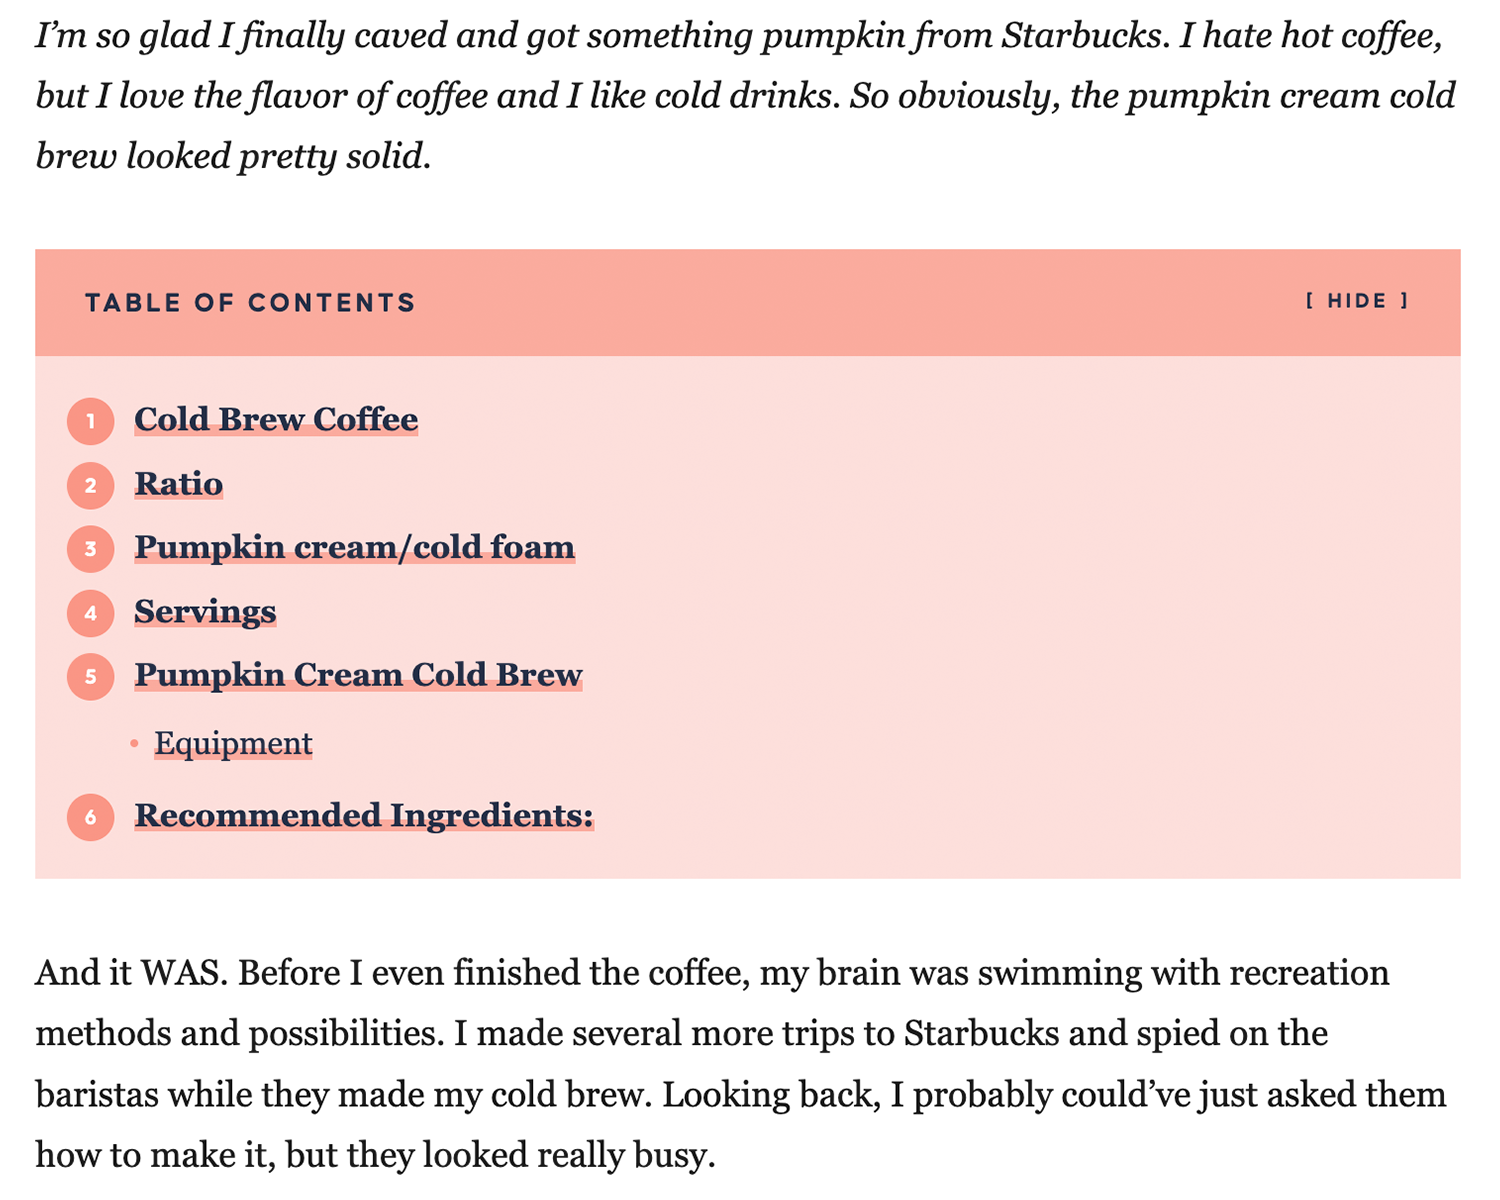
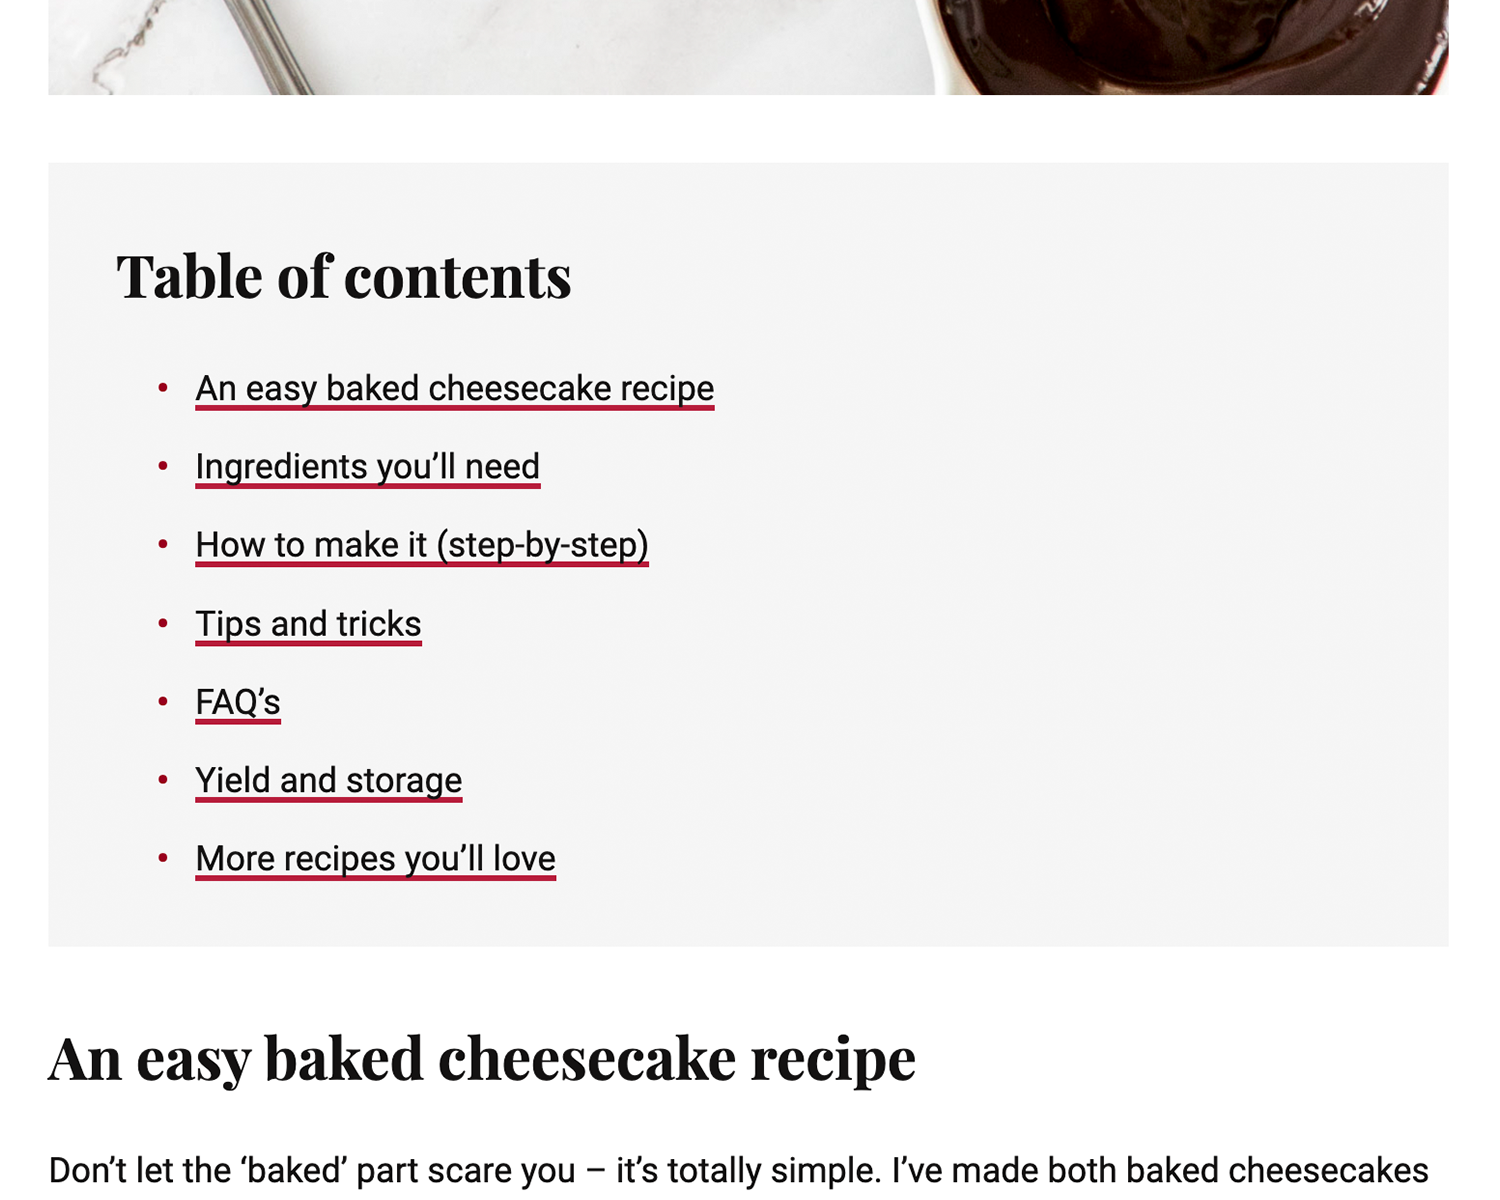
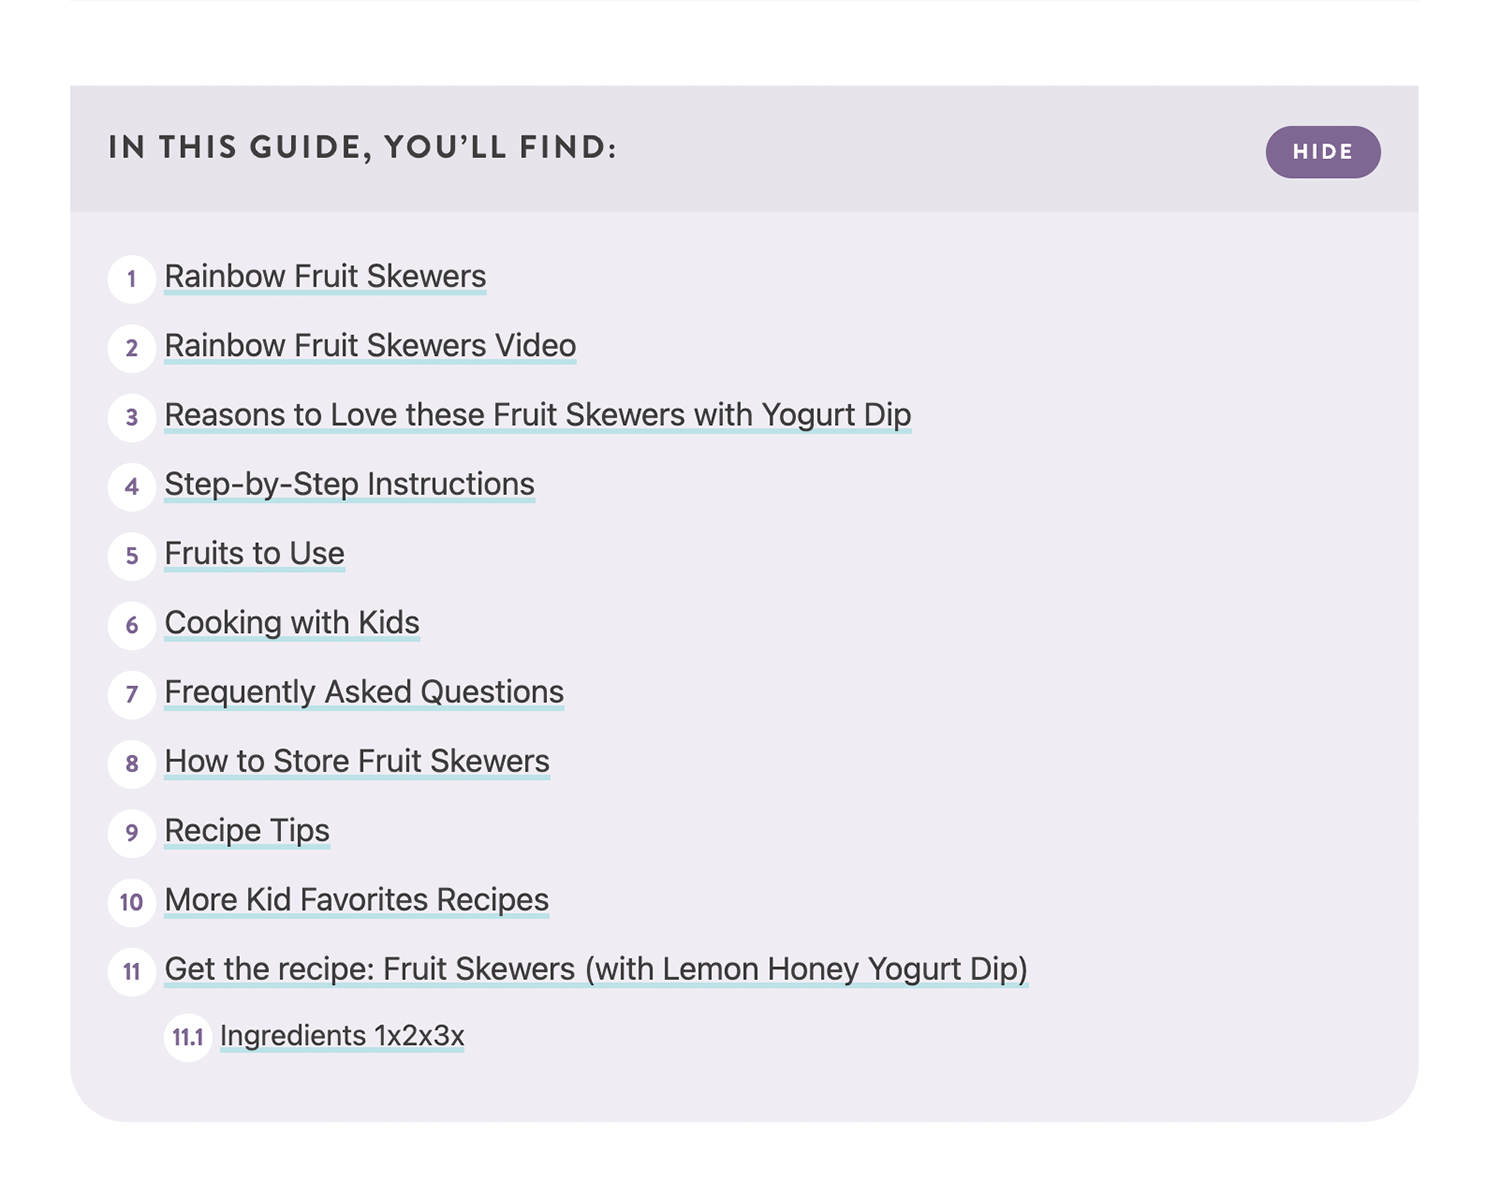
Table of Contents
Table of Contents blocks provide an outline of the post’s content along with jump links to take a user directly to a specific section.
An example of where a TOC would be very helpful is an in-depth article that someone may come back to, and may just want to re-read a specific section of the entire post. For example, an in-depth post on sourdough bread baking, with separate sections for the main ingredients and supplies, the process, and troubleshooting. A TOC would allow users come back and get to the troubleshooting info when they need it quickly (like say, when they have sticky bread dough all over their hands).
You most likely won’t need a TOC on all your posts, only those with extra long content and a logical, contextual heading structure.
A basic Table of Contents block is included in both Yoast an All in One SEO plugins, though these tend to be very basic (just a structured list with headings extracted from the post). There are also more robust TOC plugins (Like LuckyWP TOC), with extra features like show/hide toggles and more customization options. Whichever option you prefer, we can stylize it further to make it stand out from the rest of your content.


Reusable Blocks
Reusable blocks are useful if you have a block that you want to use over and over again in a post. For example, an optin email subscribe field, or an eye-catching prompt to leave a recipe review. Instead of having to copy/paste content into each and every post, you can simply insert the saved Reusable Block.
Conversely, updating the reusable block will update all posts where it has been used, so it is great for email optins that may change overtime if you want to offer a different freebie or if you need to change your email form code.
You do have to be careful though, if you accidentally edit the content of a reusable Block in one post it will change across all posts where that Block is used. If you don’t want that, be sure to convert it to a regular block BEFORE you edit it (converting to a regular Block ‘detatches’ it from the reusable one, so when/if the reusable one is updated, the detached block will not change either).
Classic to Block Conversion
If you’ve still been using the Classic editor, I get it. Change can be jarring. But it’s been a few years now since the Block editor was released and most of the bugs have been worked out. While the workflow is definitely different from what you’re used to, I think you’ll find once you get the hang of things that you love the new Block editor and the formatting possibilities it provides.
I’ll shout it out loud if I need to: you DO NOT need to convert your old posts to Blocks. They’ll continue to live as is, without issue, indefinitely. The only reason to convert them is if you want to update the post and take advantage of some of the new Block features.
If you still have the Classic editor enabled, make sure you have post editor switching enabled, and set the default to Block (so new posts from here on out will default to the new Block editor).
Under Settings > Writing, set the “Default editor for all users” to Block, and “Allow users to switch editors” to Yes. This later option will give you the ability to choose to edit a post in Classic or Block, you can also switch from one to the other within the post itself.
When you open a Classic post in the Block editor, it will load all the content into a single “Classic” block. Click the Options button (3 vertical dots) and choose “Convert to Blocks” to convert the Classic block to standard Blocks. This is usually a pretty seamless process, though sometimes you may end up with some HTML code blocks if there was invalid code in your post for example.
What’s This All Cost?
We now include a standard Block color palette in the base price for all our design projects, defining a set of brand colors to replace the default colors in the Block editor. You can then apply these as background colors to any block or group block within your post.
More advanced styles, icons, and custom Block types are more complex, the actual cost will be determined by how many different types Block styles you need, and the complexity of those styles and/or custom blocks.
For clients whose sites were designed more than 2 years ago, you may not have a custom color palette defined for your site (this is a fairly new WordPress feature), or if you want to add more advanced styles, icons, or custom Block types, feel free to reach out and we’re happy to give you an estimate!